
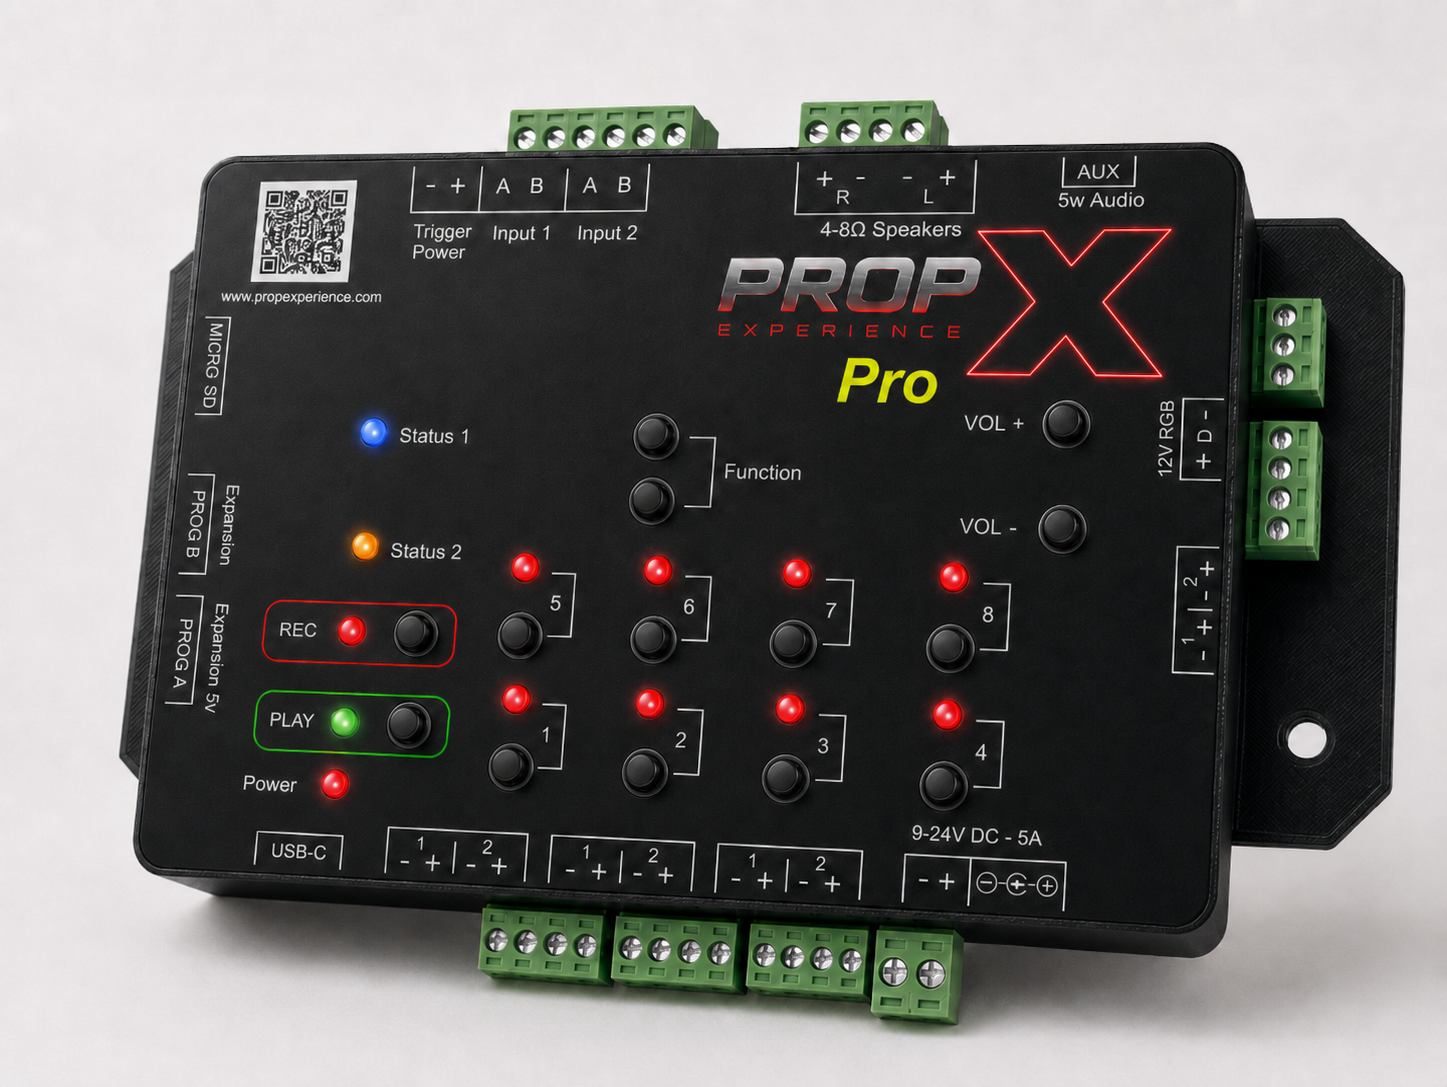
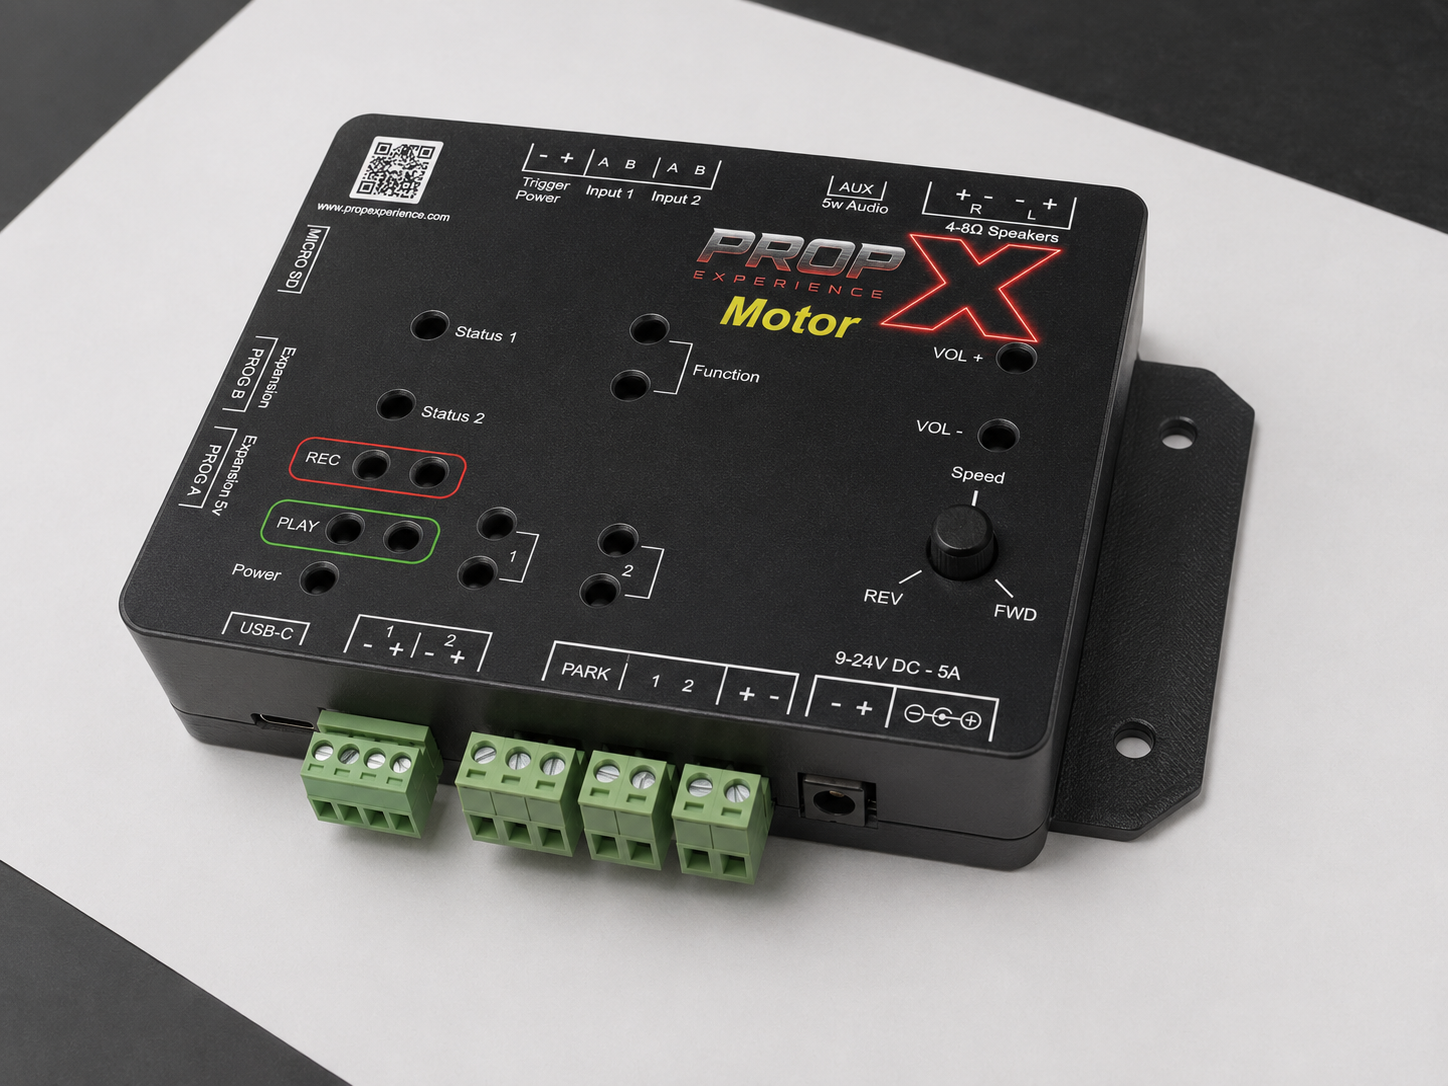
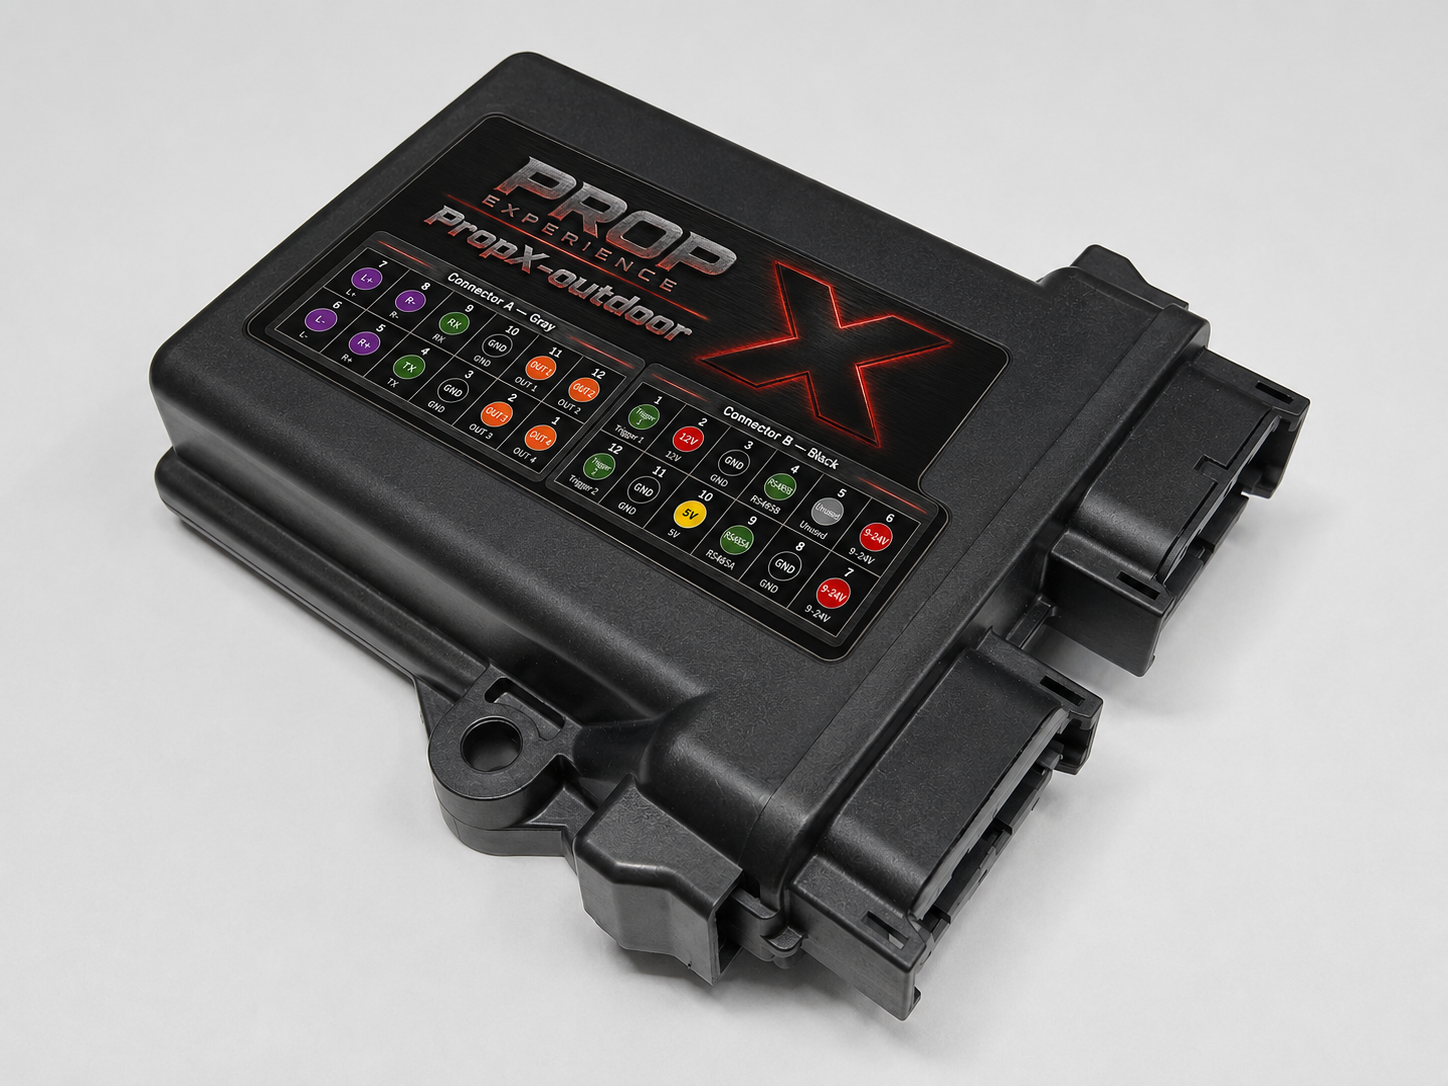
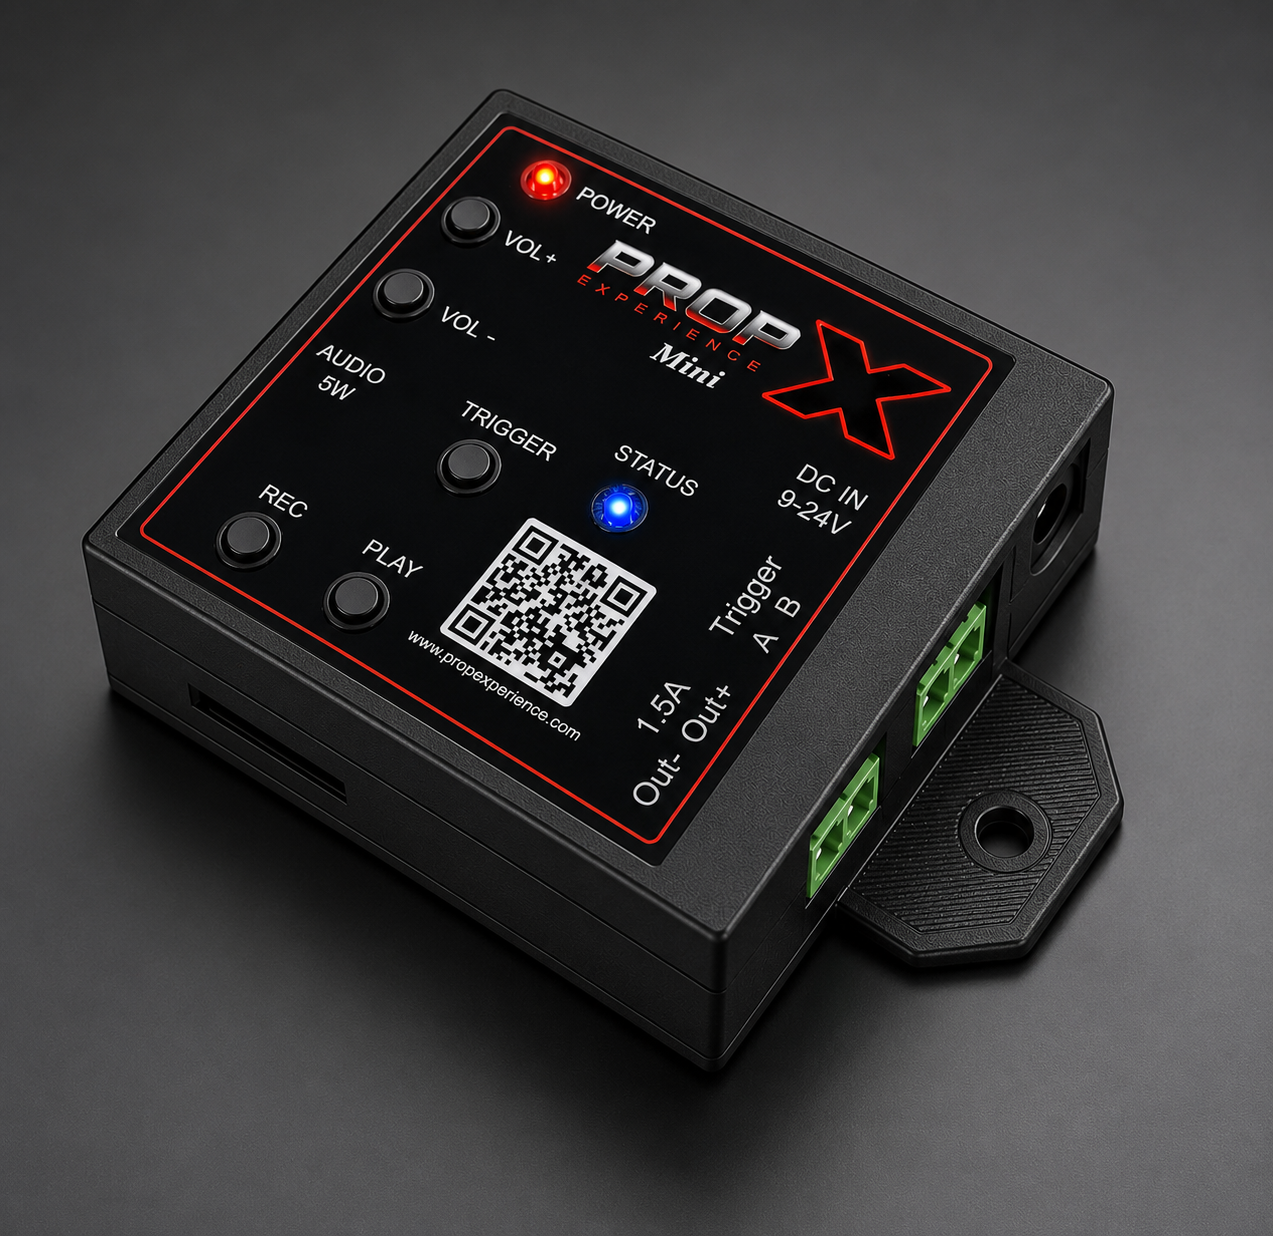
Nine steps from box to a working prop. For sensors, sound, lights, and DMX, continue to the setup guide.
⚠️ Warning: Never use a power supply above 24 volts — it can permanently damage the controller. Check the supply's label first.
The nine steps
Install the PropX Control Center app.
You'll see: the app opens to its main window.
Plug your power supply into the power jack.
(Bare-wire supply? Use the screw power terminal — see the setup guide.)
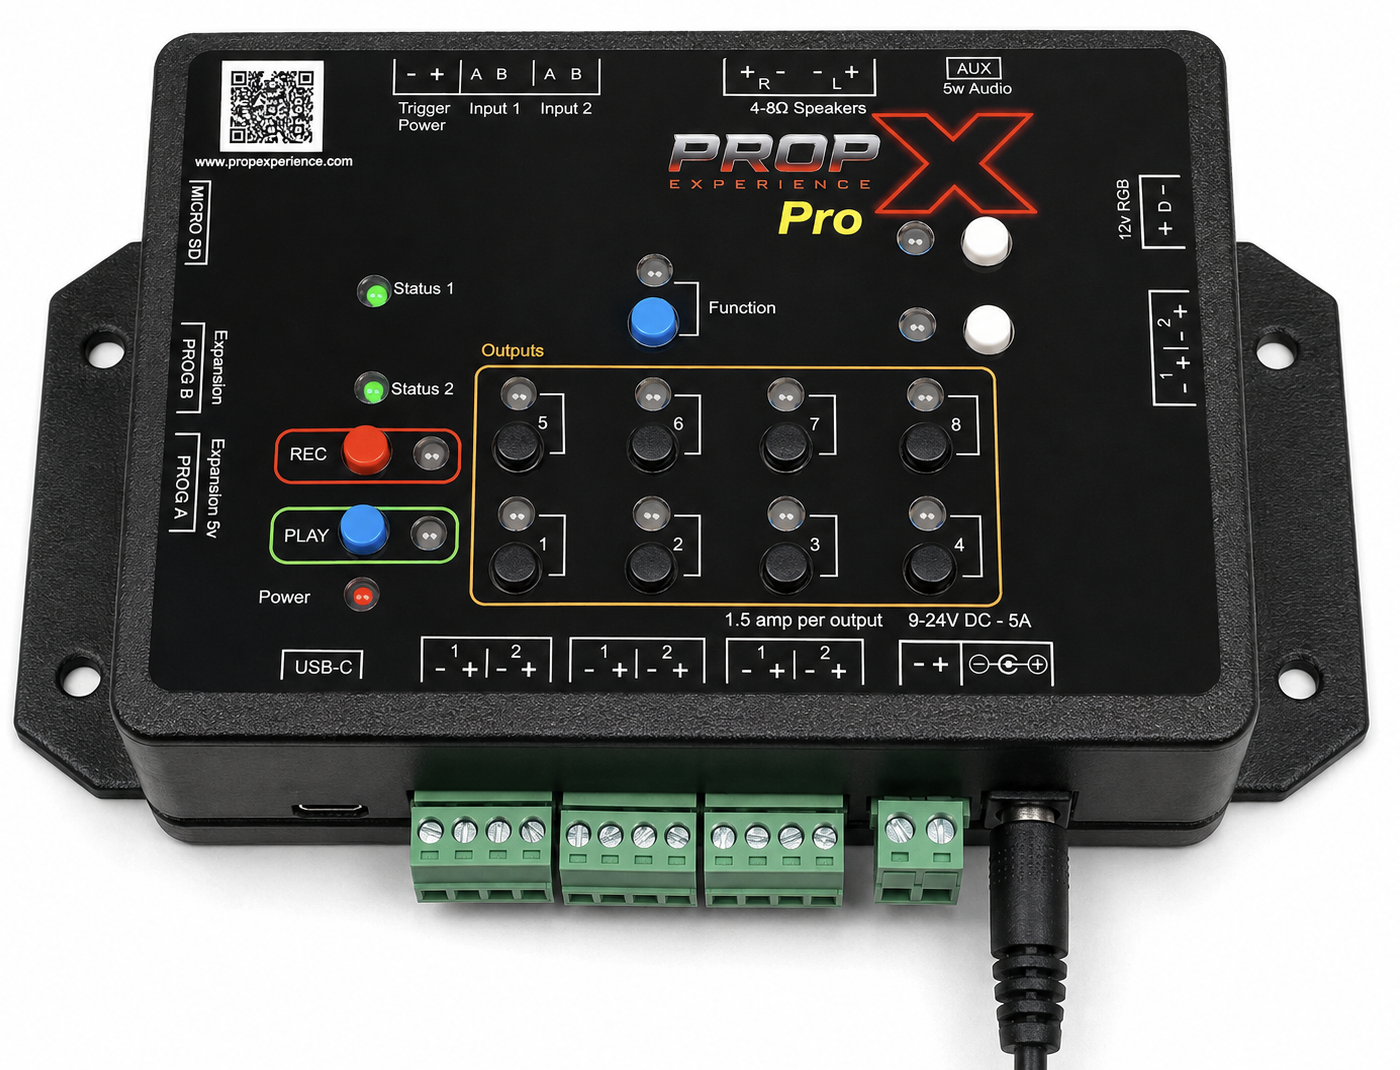
You'll see: every light flashes red, then green, then blue — start-up.
Wait for the Status 1 light to turn solid blue.
You'll see: solid blue = on and waiting for you.
Put the Pro in pairing mode: hold the Record and Output 1 buttons together for about 5 seconds, then release.
You'll see: the status light flashes purple — ready to pair.
In the app, click Scan.
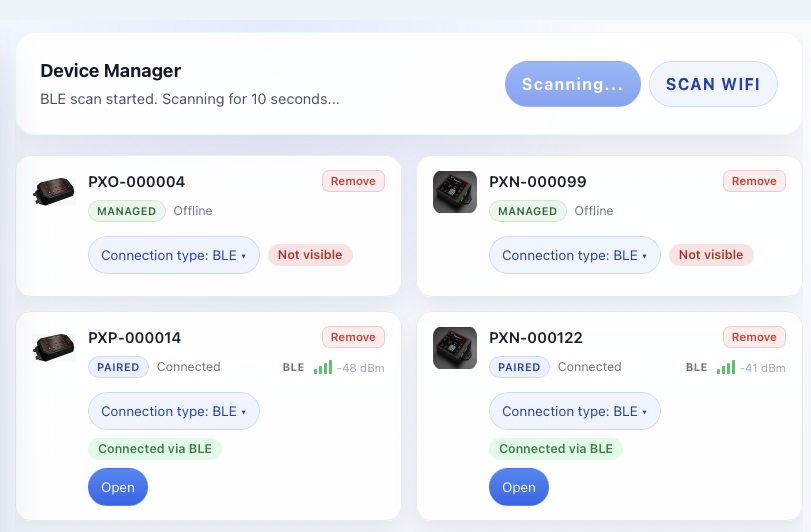
You'll see: your controller as PropX- plus your serial number (printed on its label).
Click Add next to your controller.
You'll see: it connects — no PIN needed.
In the app, turn on output 1.
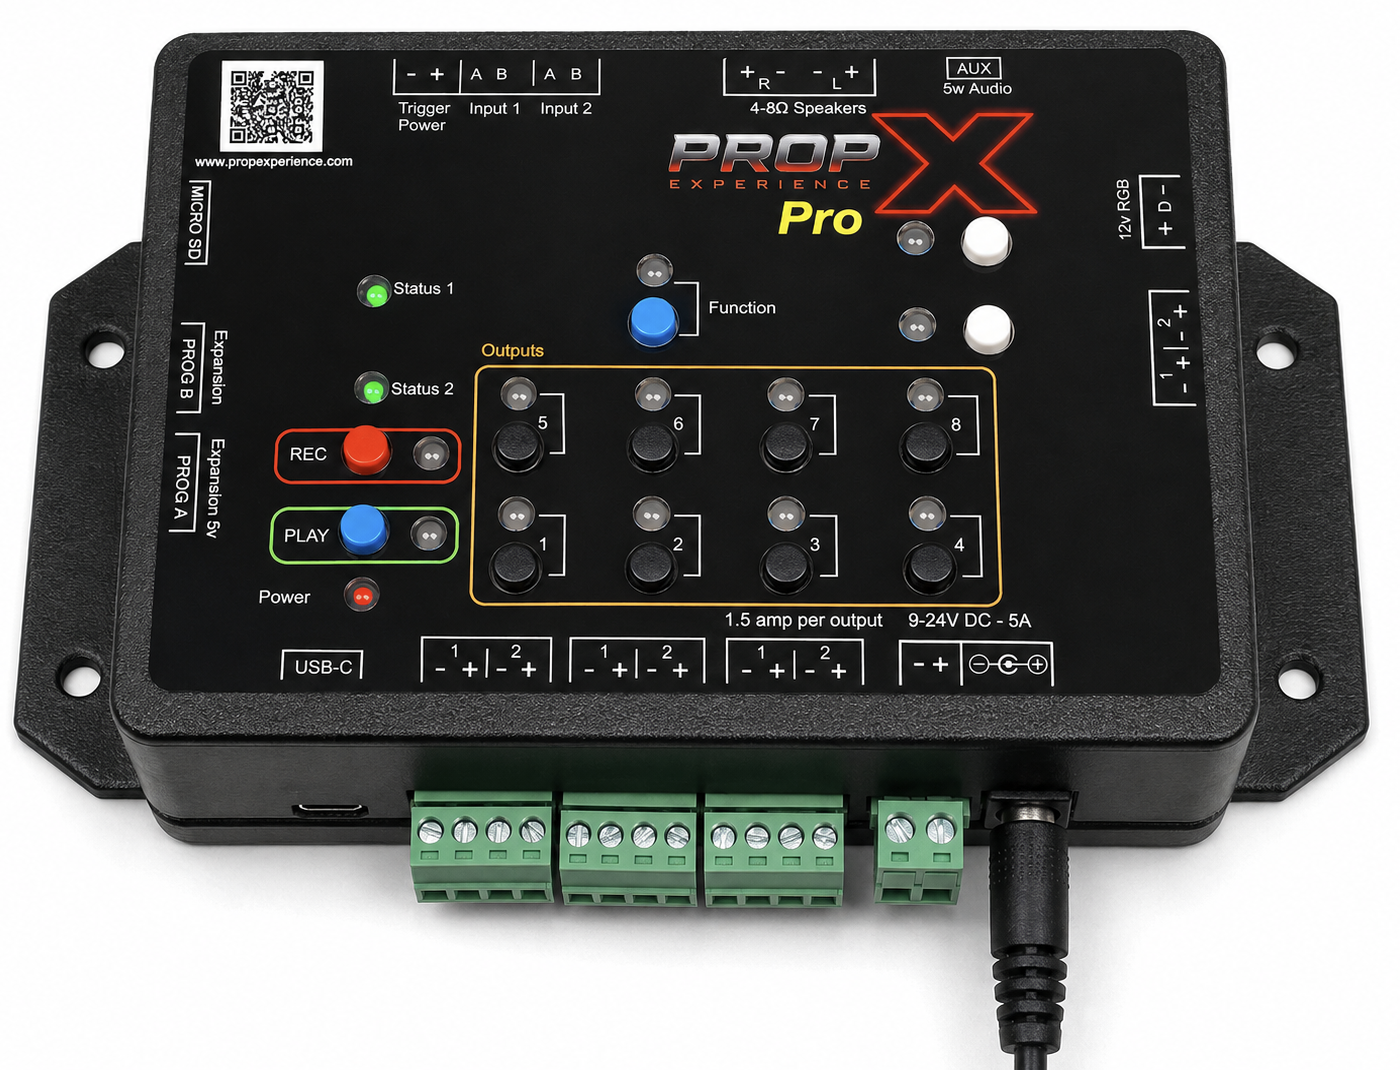
You'll see: Status 2 flashes yellow/purple — the controller senses no load. That's expected, since nothing's wired to it yet.
Connect your prop's two wires to output pair 1
(a pair of screw clamps marked − and +), matching + to + and − to −.
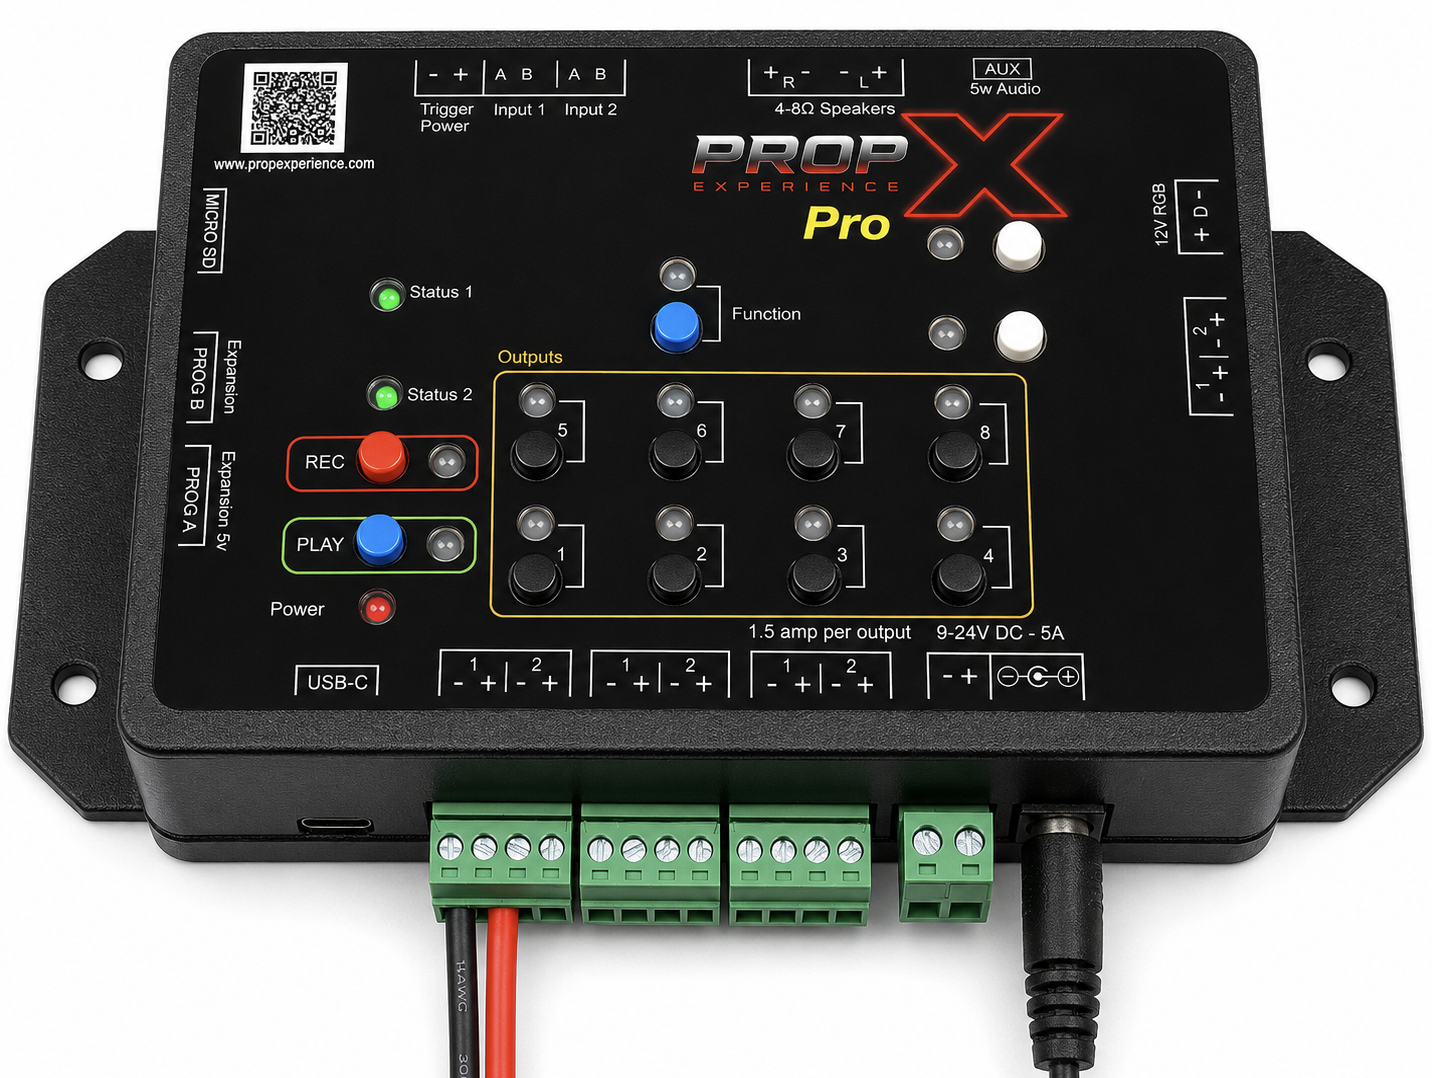
You'll see: both wires held firmly, no bare wire showing.
Turn output 1 off.
You'll see: your prop switches off. Done.
Next steps
- Wire sensors, speakers, LED strips, and DMX: setup guide
- Learn every connector and light: device tour
- Something's off: troubleshooting