
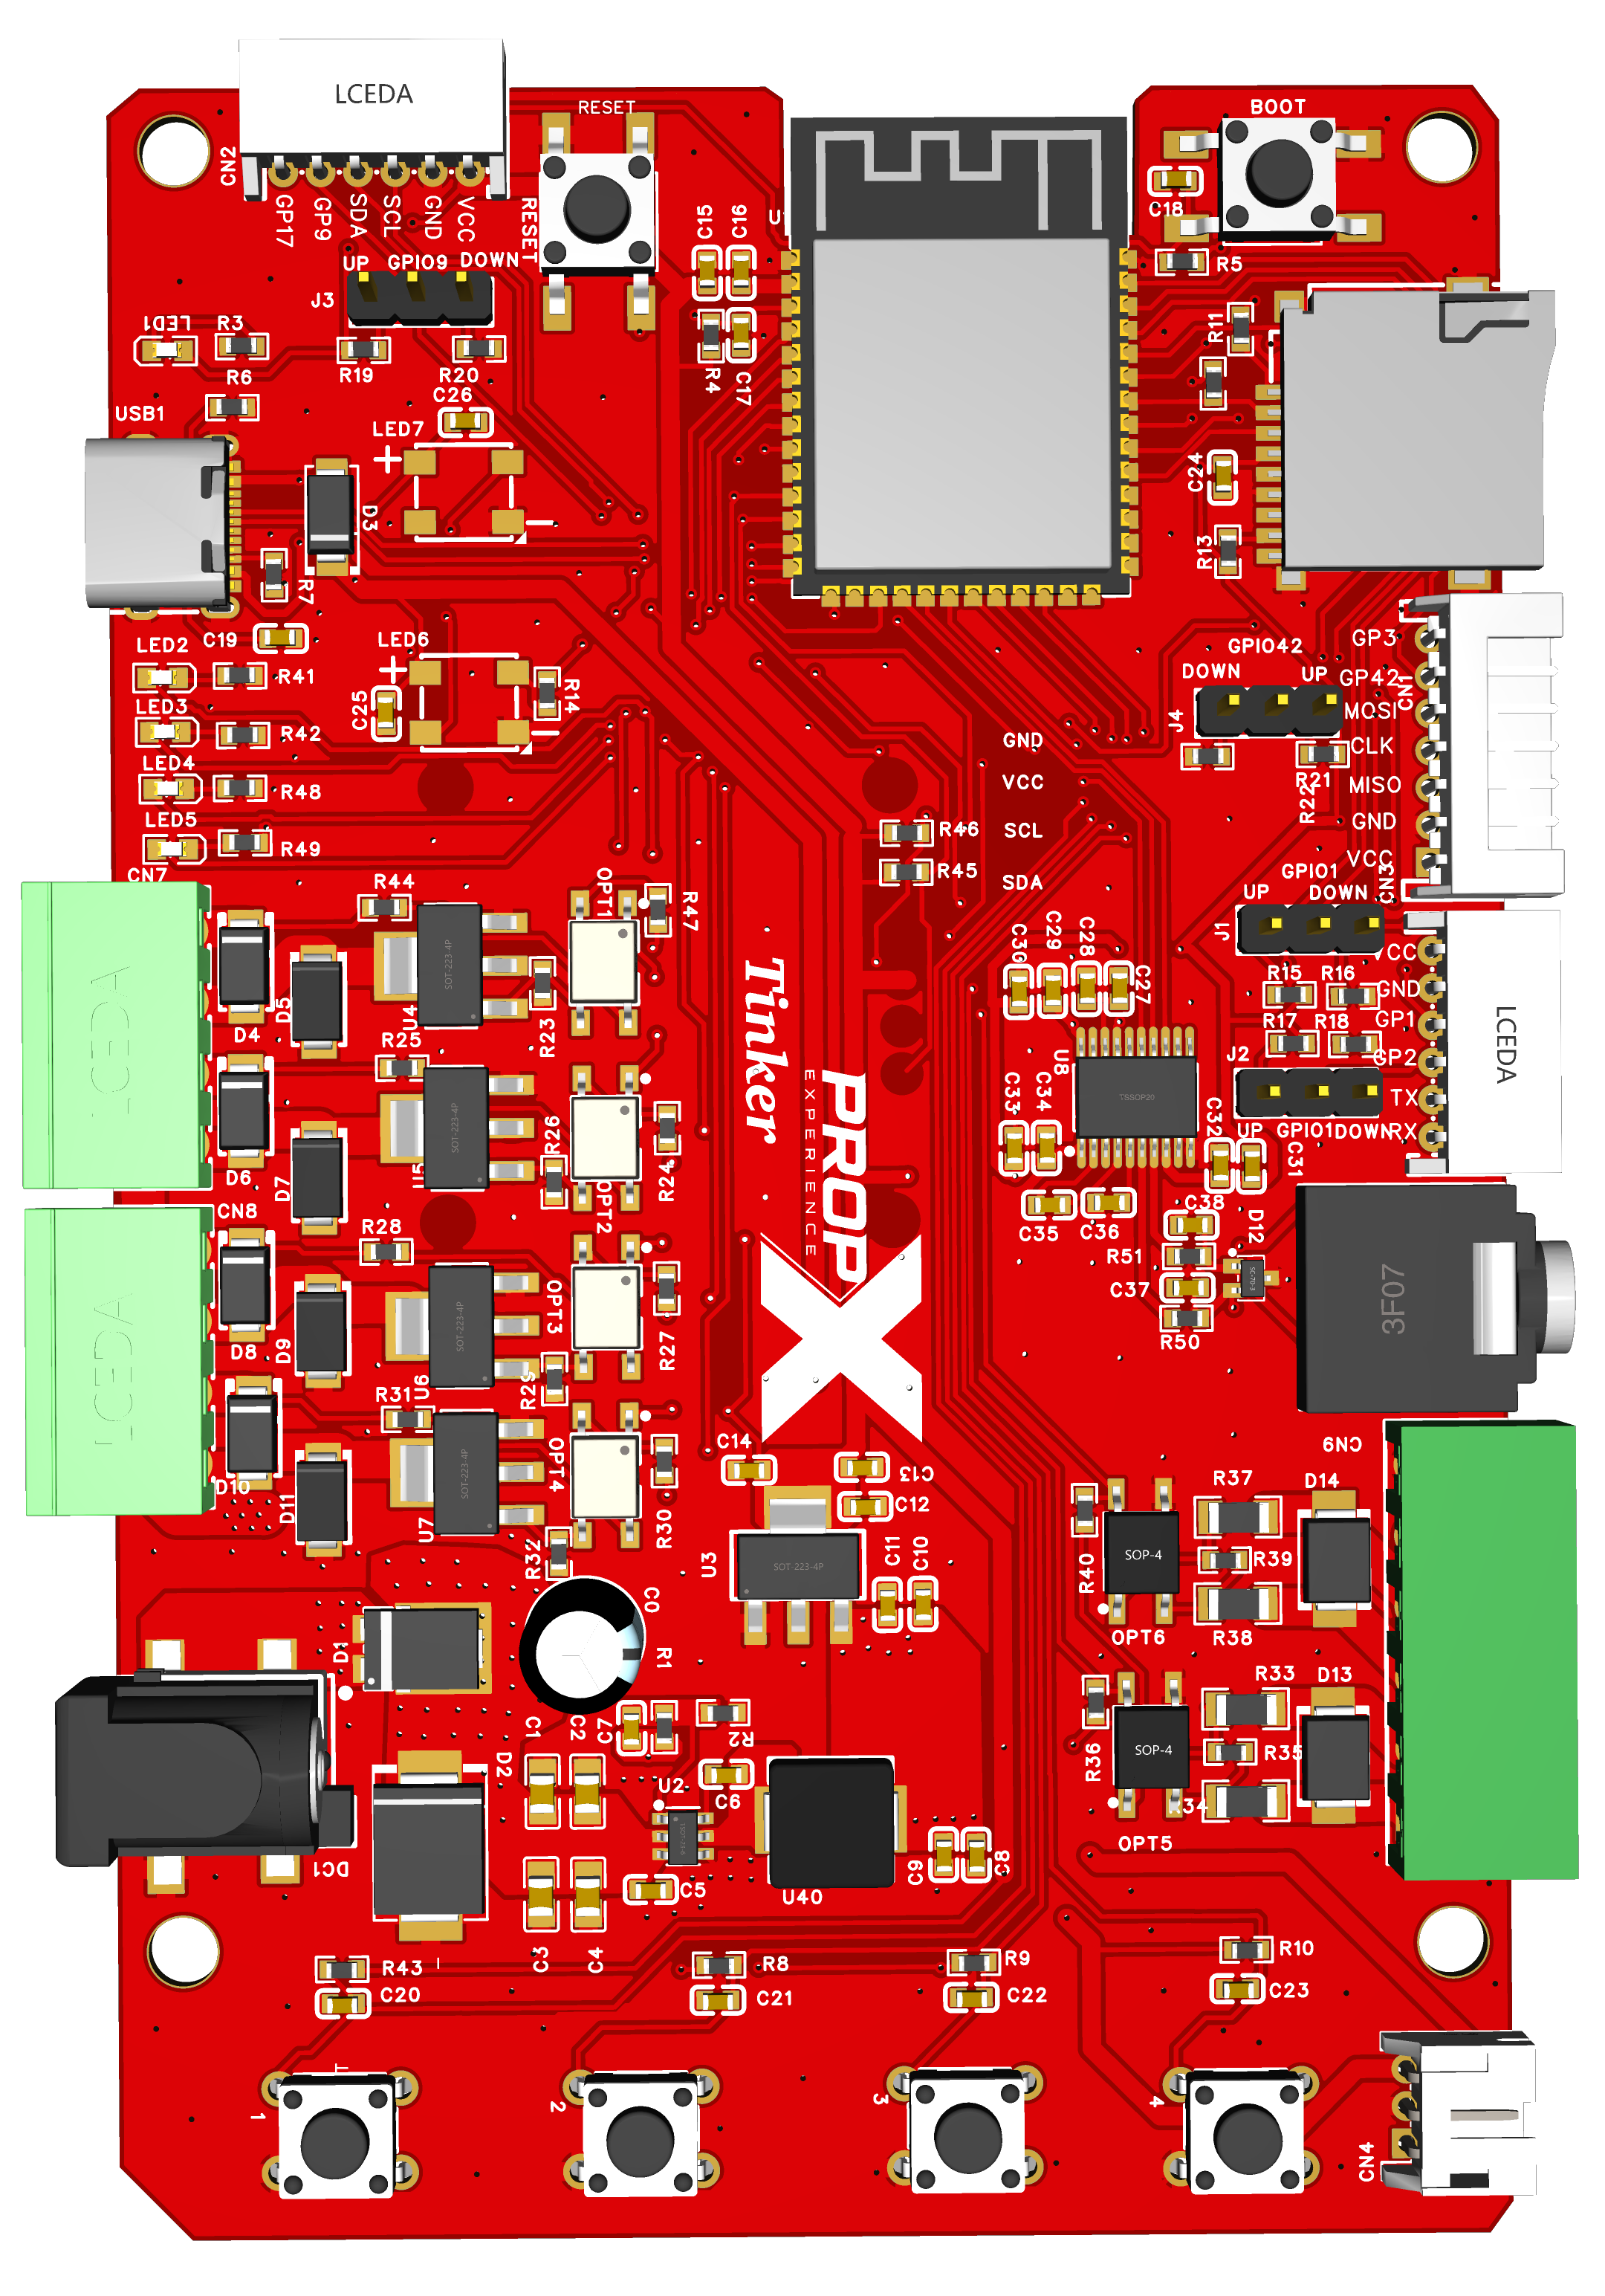
The complete build, part by part — skip what you don't need. Only testing? Use the Quick Start instead.
Before you start, you’ll need
- Your PropX-Pro and a 9–24 V DC supply (500 mA–5 A depending on your loads)
- Props, sensors, speaker(s), any LED strip, and wire to reach the controller
- A small flat screwdriver; drill and screws if mounting
- A computer with Bluetooth and the PropX Control Center app
- Time: 30–60 minutes for a typical build
⚠️ Warning: Never wire the controller with power connected. Keep loads under 1.5 amps per output. Never use a supply above 24 volts.
Wire your props (outputs)
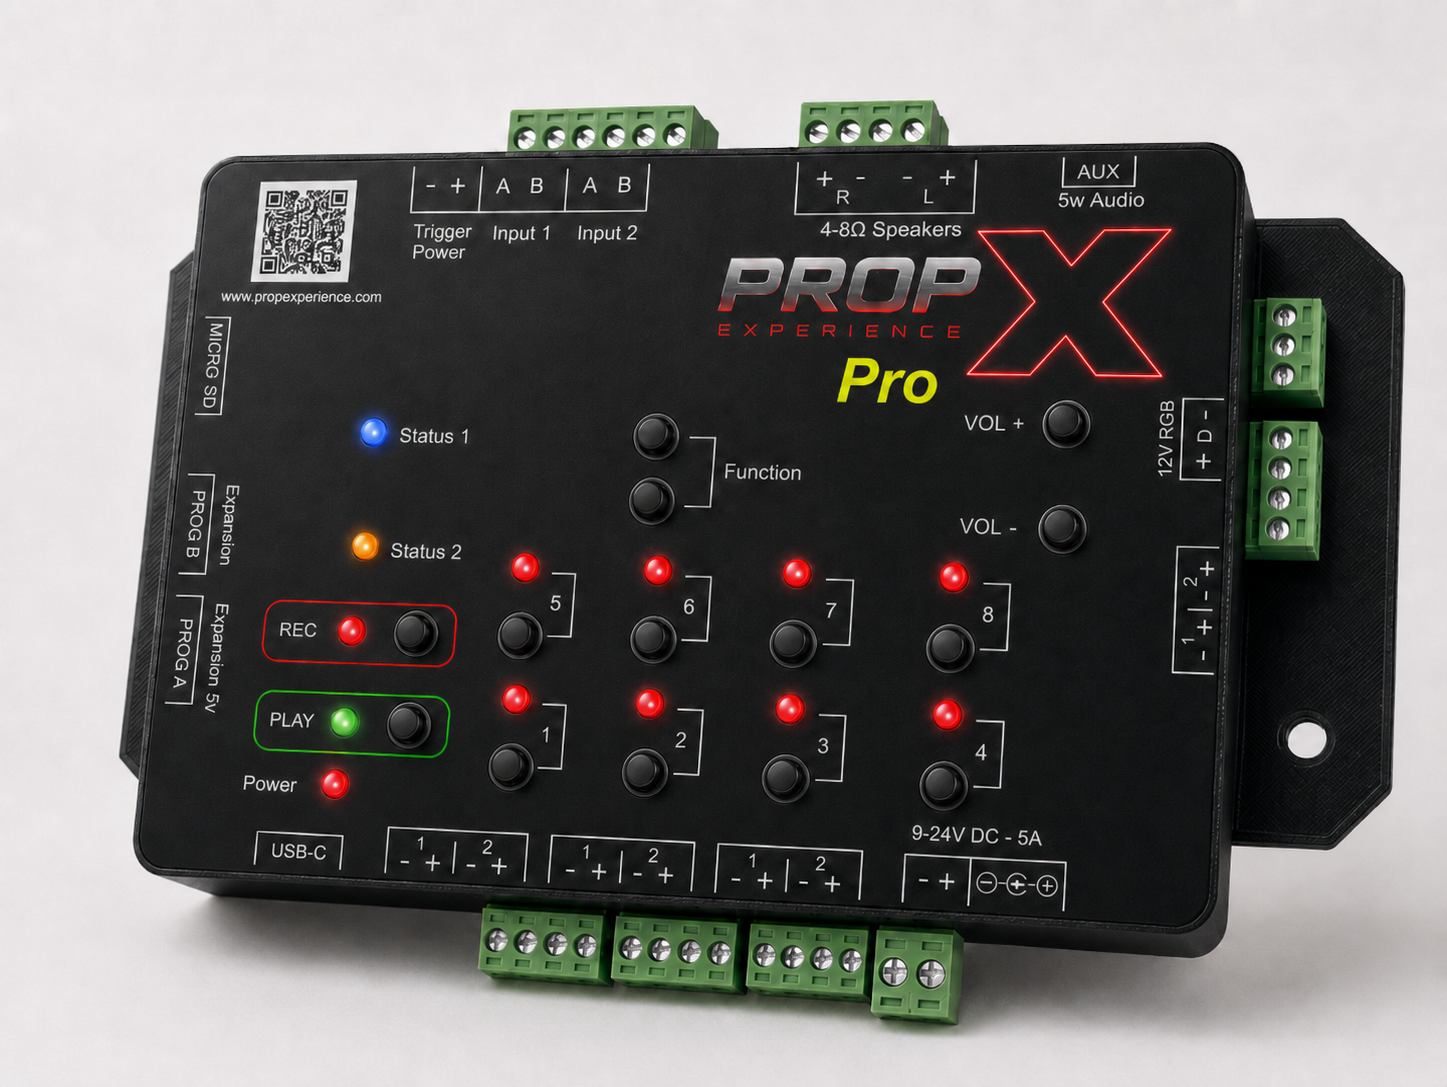
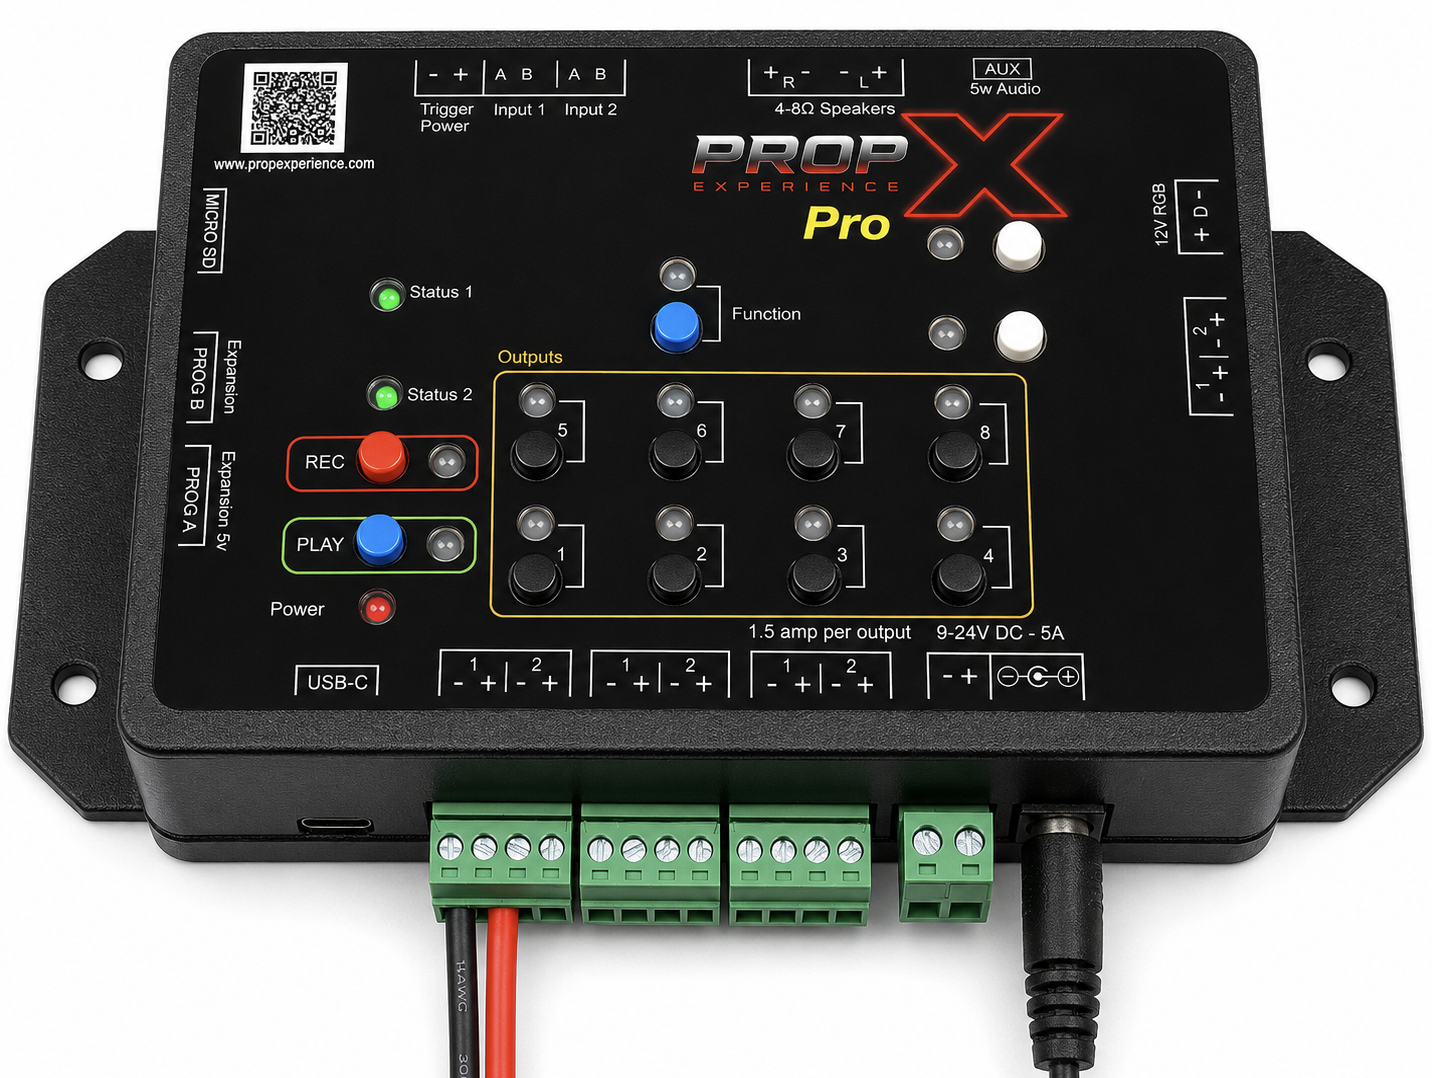
Each output is a − + pair. The Pro switches the supply's + side (high-side): wire each prop across one pair, + to +, − to −, one prop per pair. Write down which prop is on which pair.
Wire your sensors (trigger inputs)
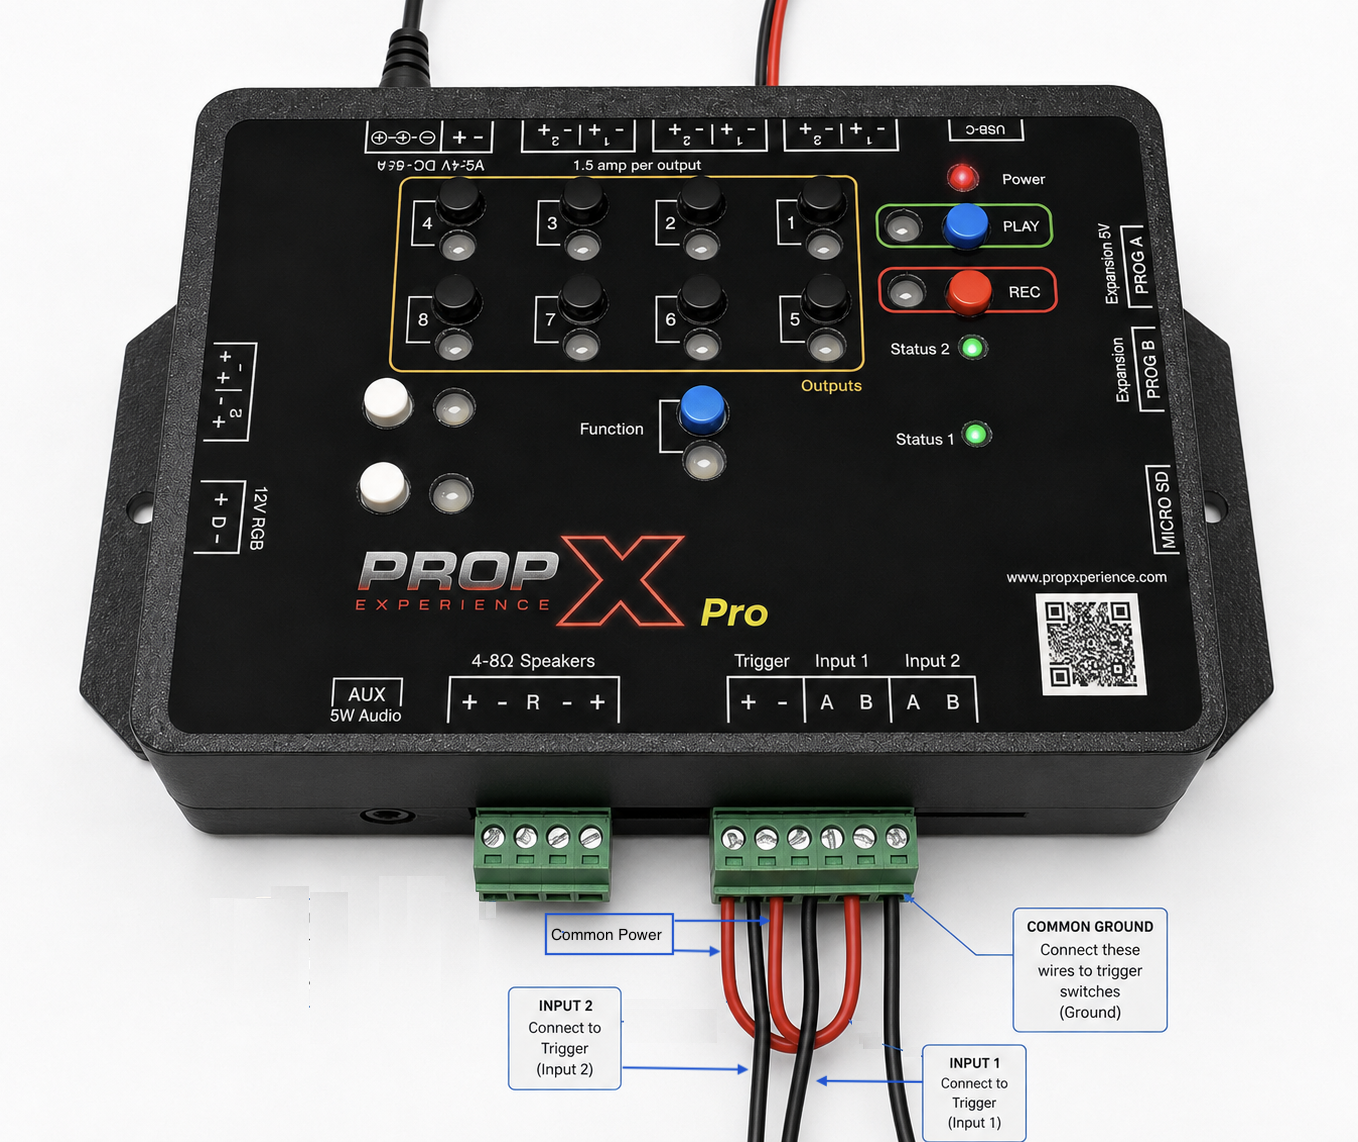
Connect each sensor's signal wires to Input 1's (or 2's) A and B pins — either way around. Sensors that need power feed from Trigger Power (− +).
⚠️ Warning: Trigger Power equals your supply voltage — a 24 V supply means 24 V to the sensor. Check its rating first.
Connect sound
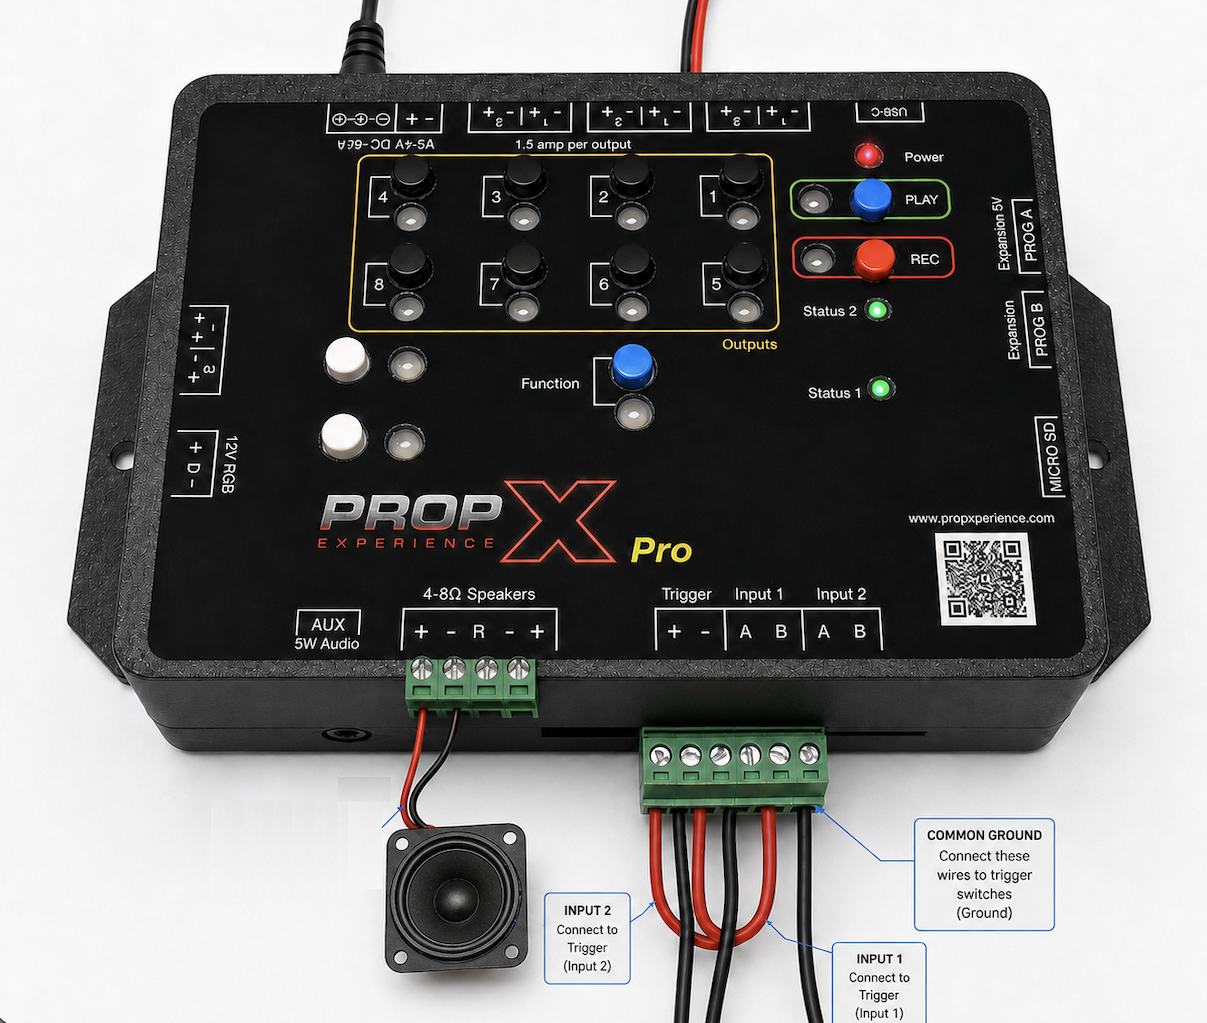
Screw your speaker's wires into the R pair of the speaker plug (+ to +, − to −) and push the plug on; add a second speaker on L for stereo. One speaker is fine — 65 watts total either way. Only 4–8 Ω speakers; start quiet. For silent-night testing, use the AUX output (5 W) instead.
Connect an LED strip (optional)
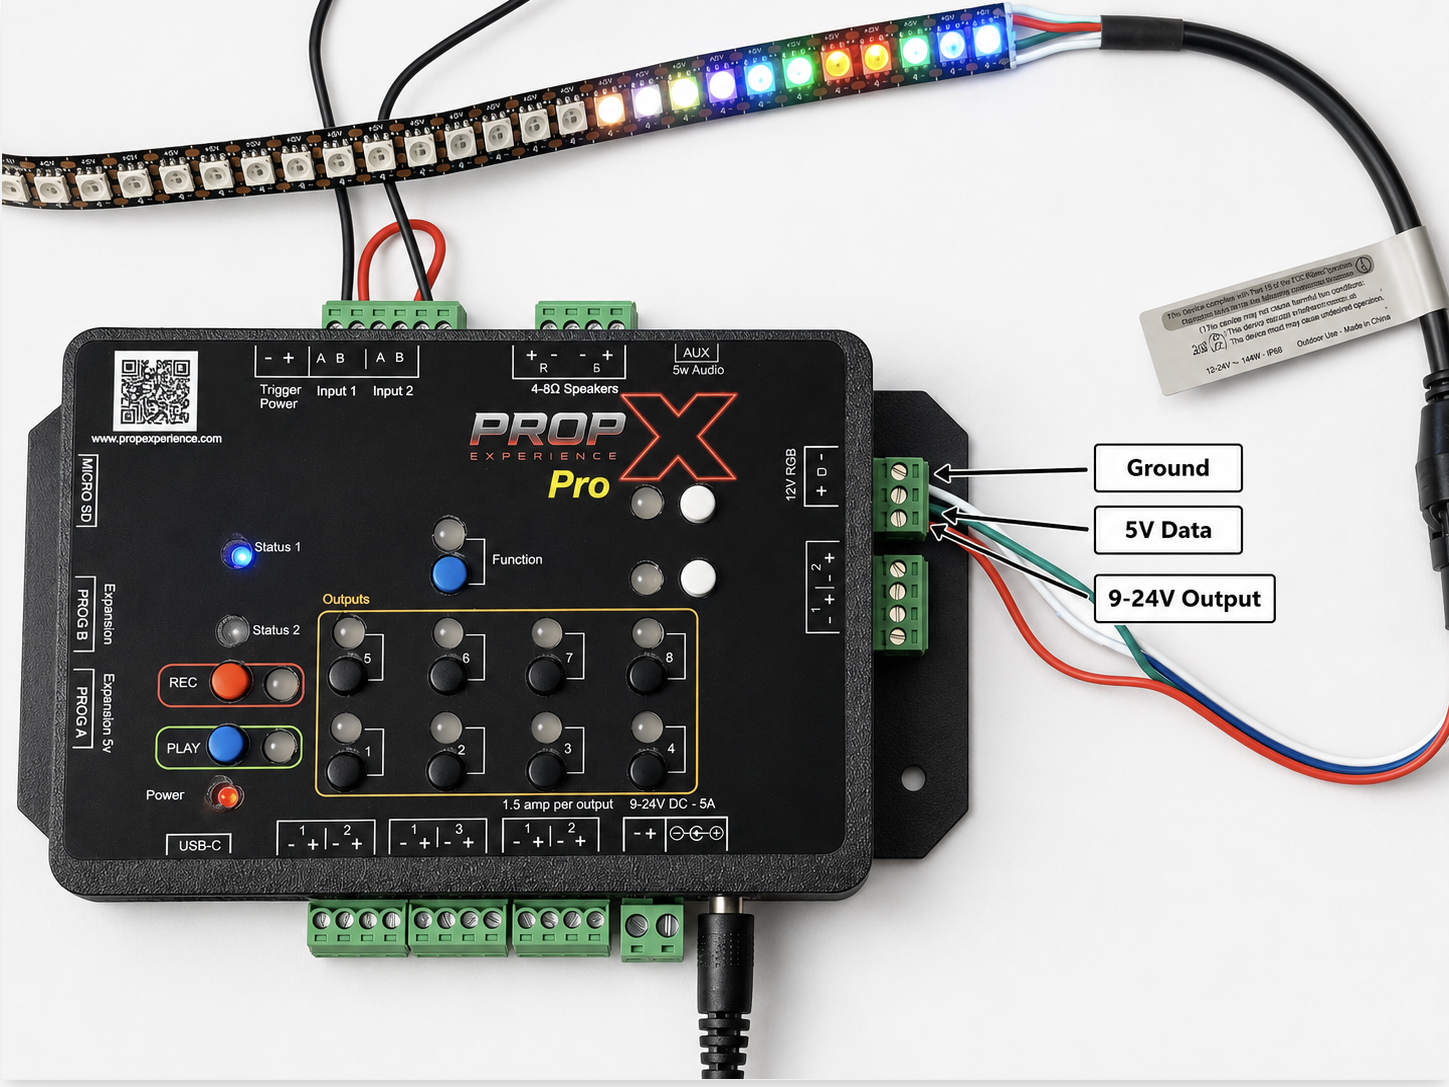
Strip + to +, data to D, − to − on the "12V RGB" port; up to 300 LEDs, connected at the strip's input-arrow end. A full strip at full white draws about 4.5 amps — budget your supply.
DMX or PropX Mesh (optional)
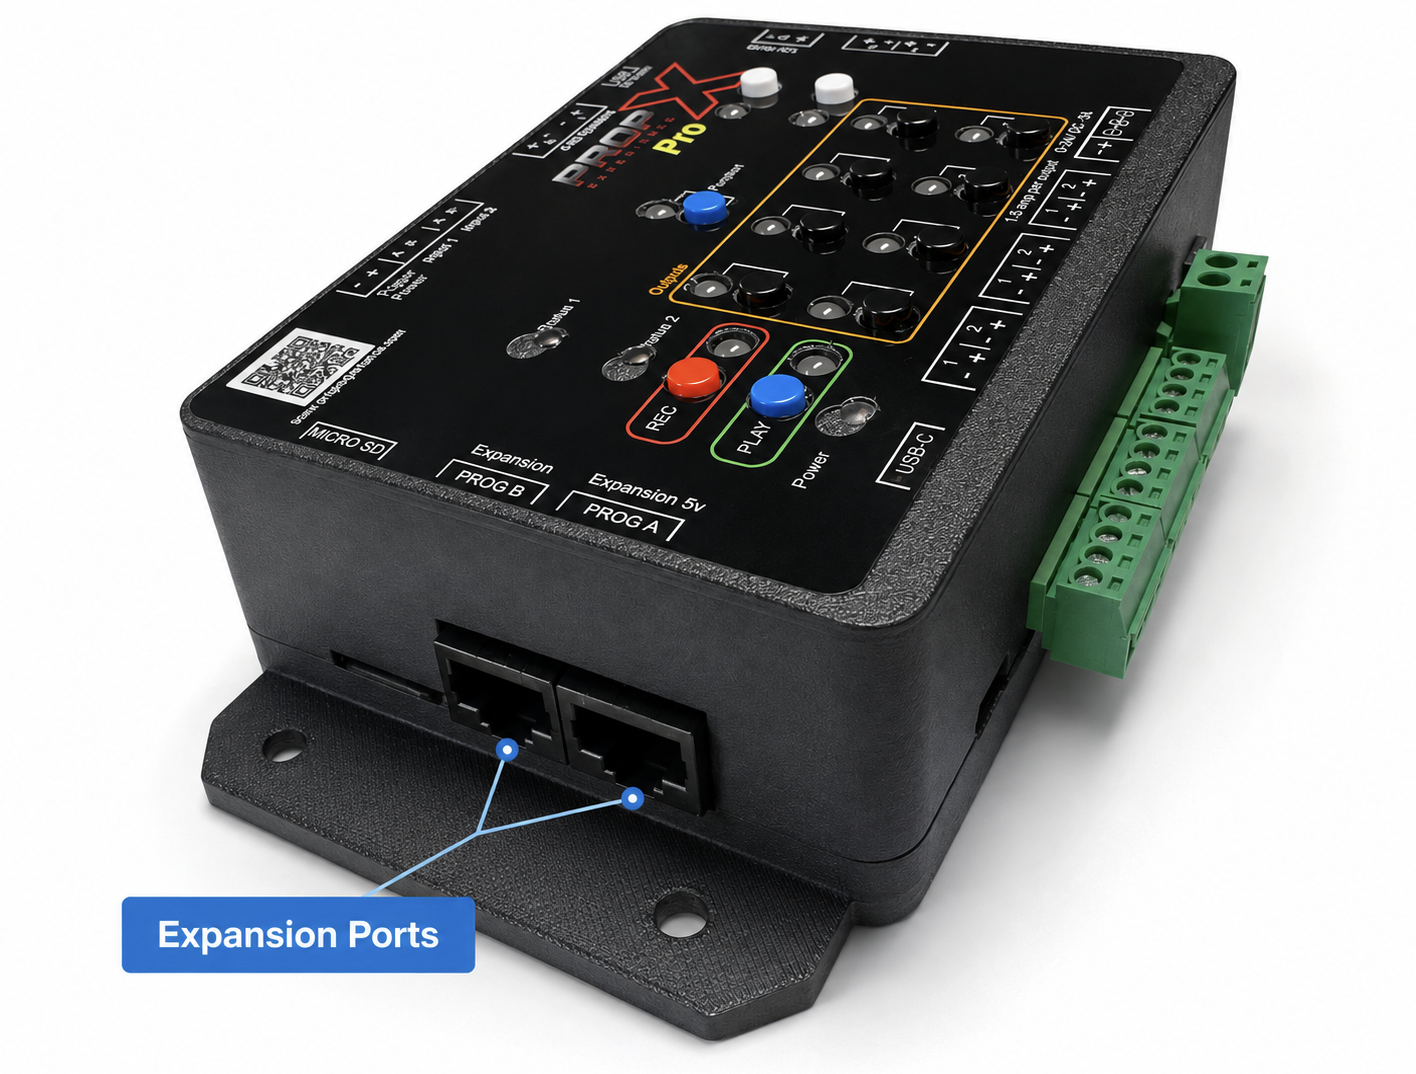
Plug your DMX fixture or the next PropX controller into a PROG port (RJ45). One job at a time: turning on Mesh turns off DMX. For Mesh, set master/slave with the internal jumpers (positions being documented — #44).
Power up
Tug-test every wire, then connect power (center-positive jack, or the − + power terminal; "9-24V DC - 5A"). You'll see red → green → blue, then Status 1 solid blue. Nothing at all? Swap the + and − power wires — harmless — and retry.
Connect it to everything else
These flows are shared across PropX controllers:
- Pair with the app — hold Record + Output 1 for 5 seconds until the light flashes purple, then Scan and Add
- Connect to WiFi — including the 5-minute setup network fallback
- Cloud remote control — coming soon
Load your sounds
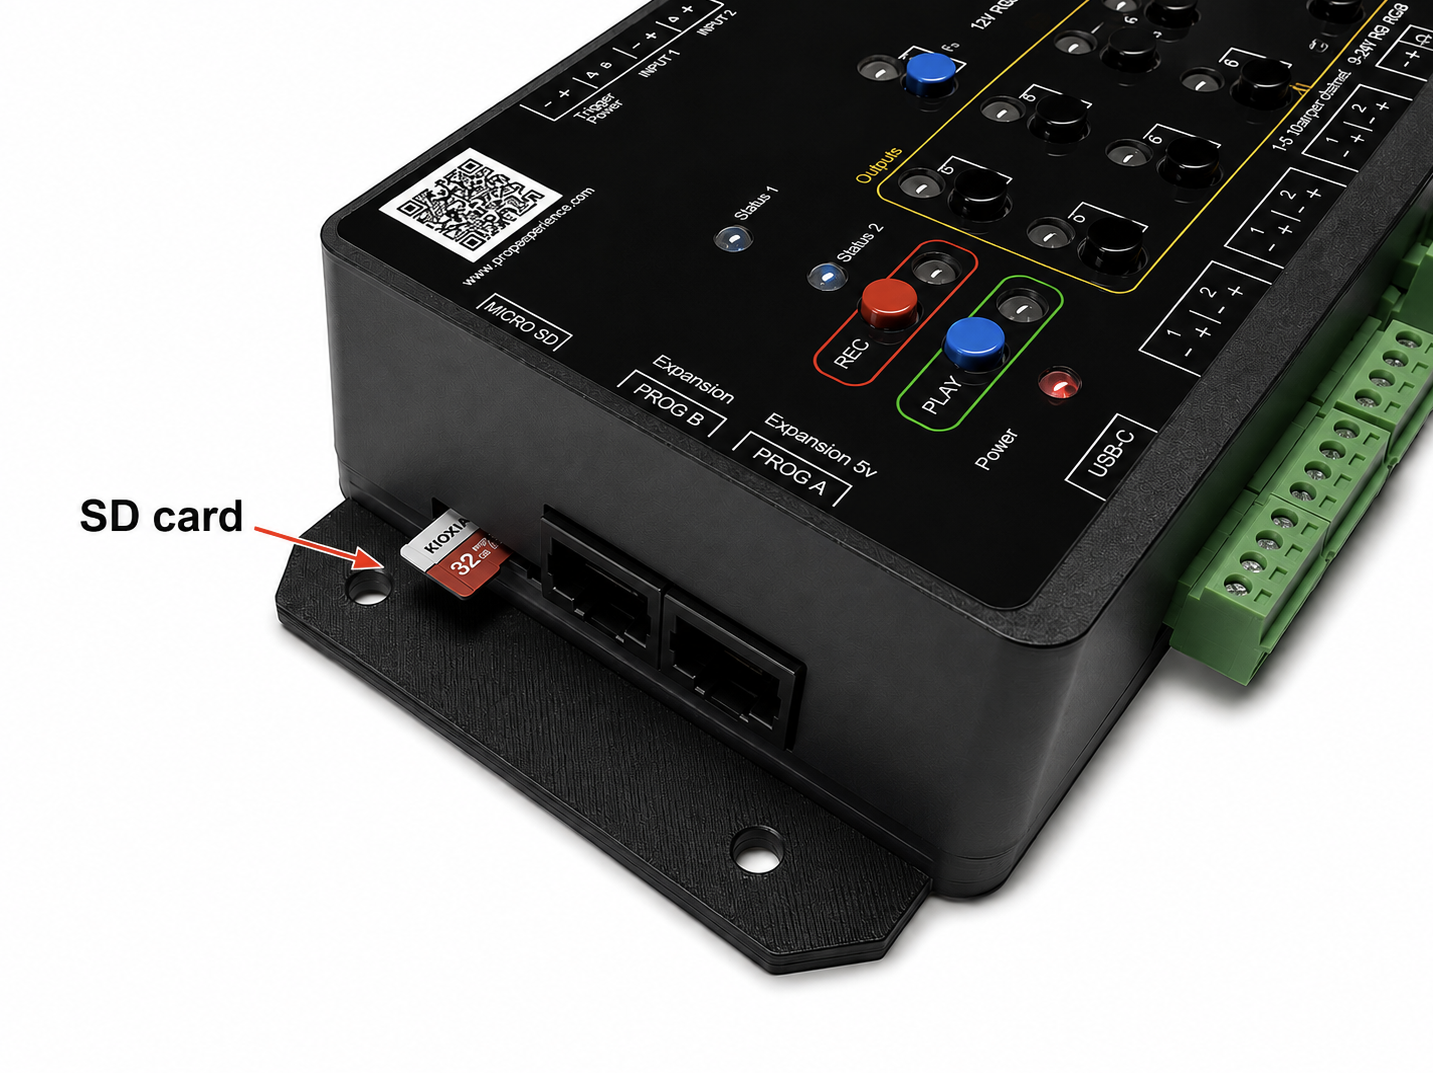
Copy MP3 files (up to 32 MB each) to a MicroSD card, or add files from the app into the 32 MB built-in storage (card folder layout being confirmed — #60). Test-play from the app: Status 1 turns green while sound plays.
Done. Build your first show in the app, and keep the troubleshooting page handy for the light table.