
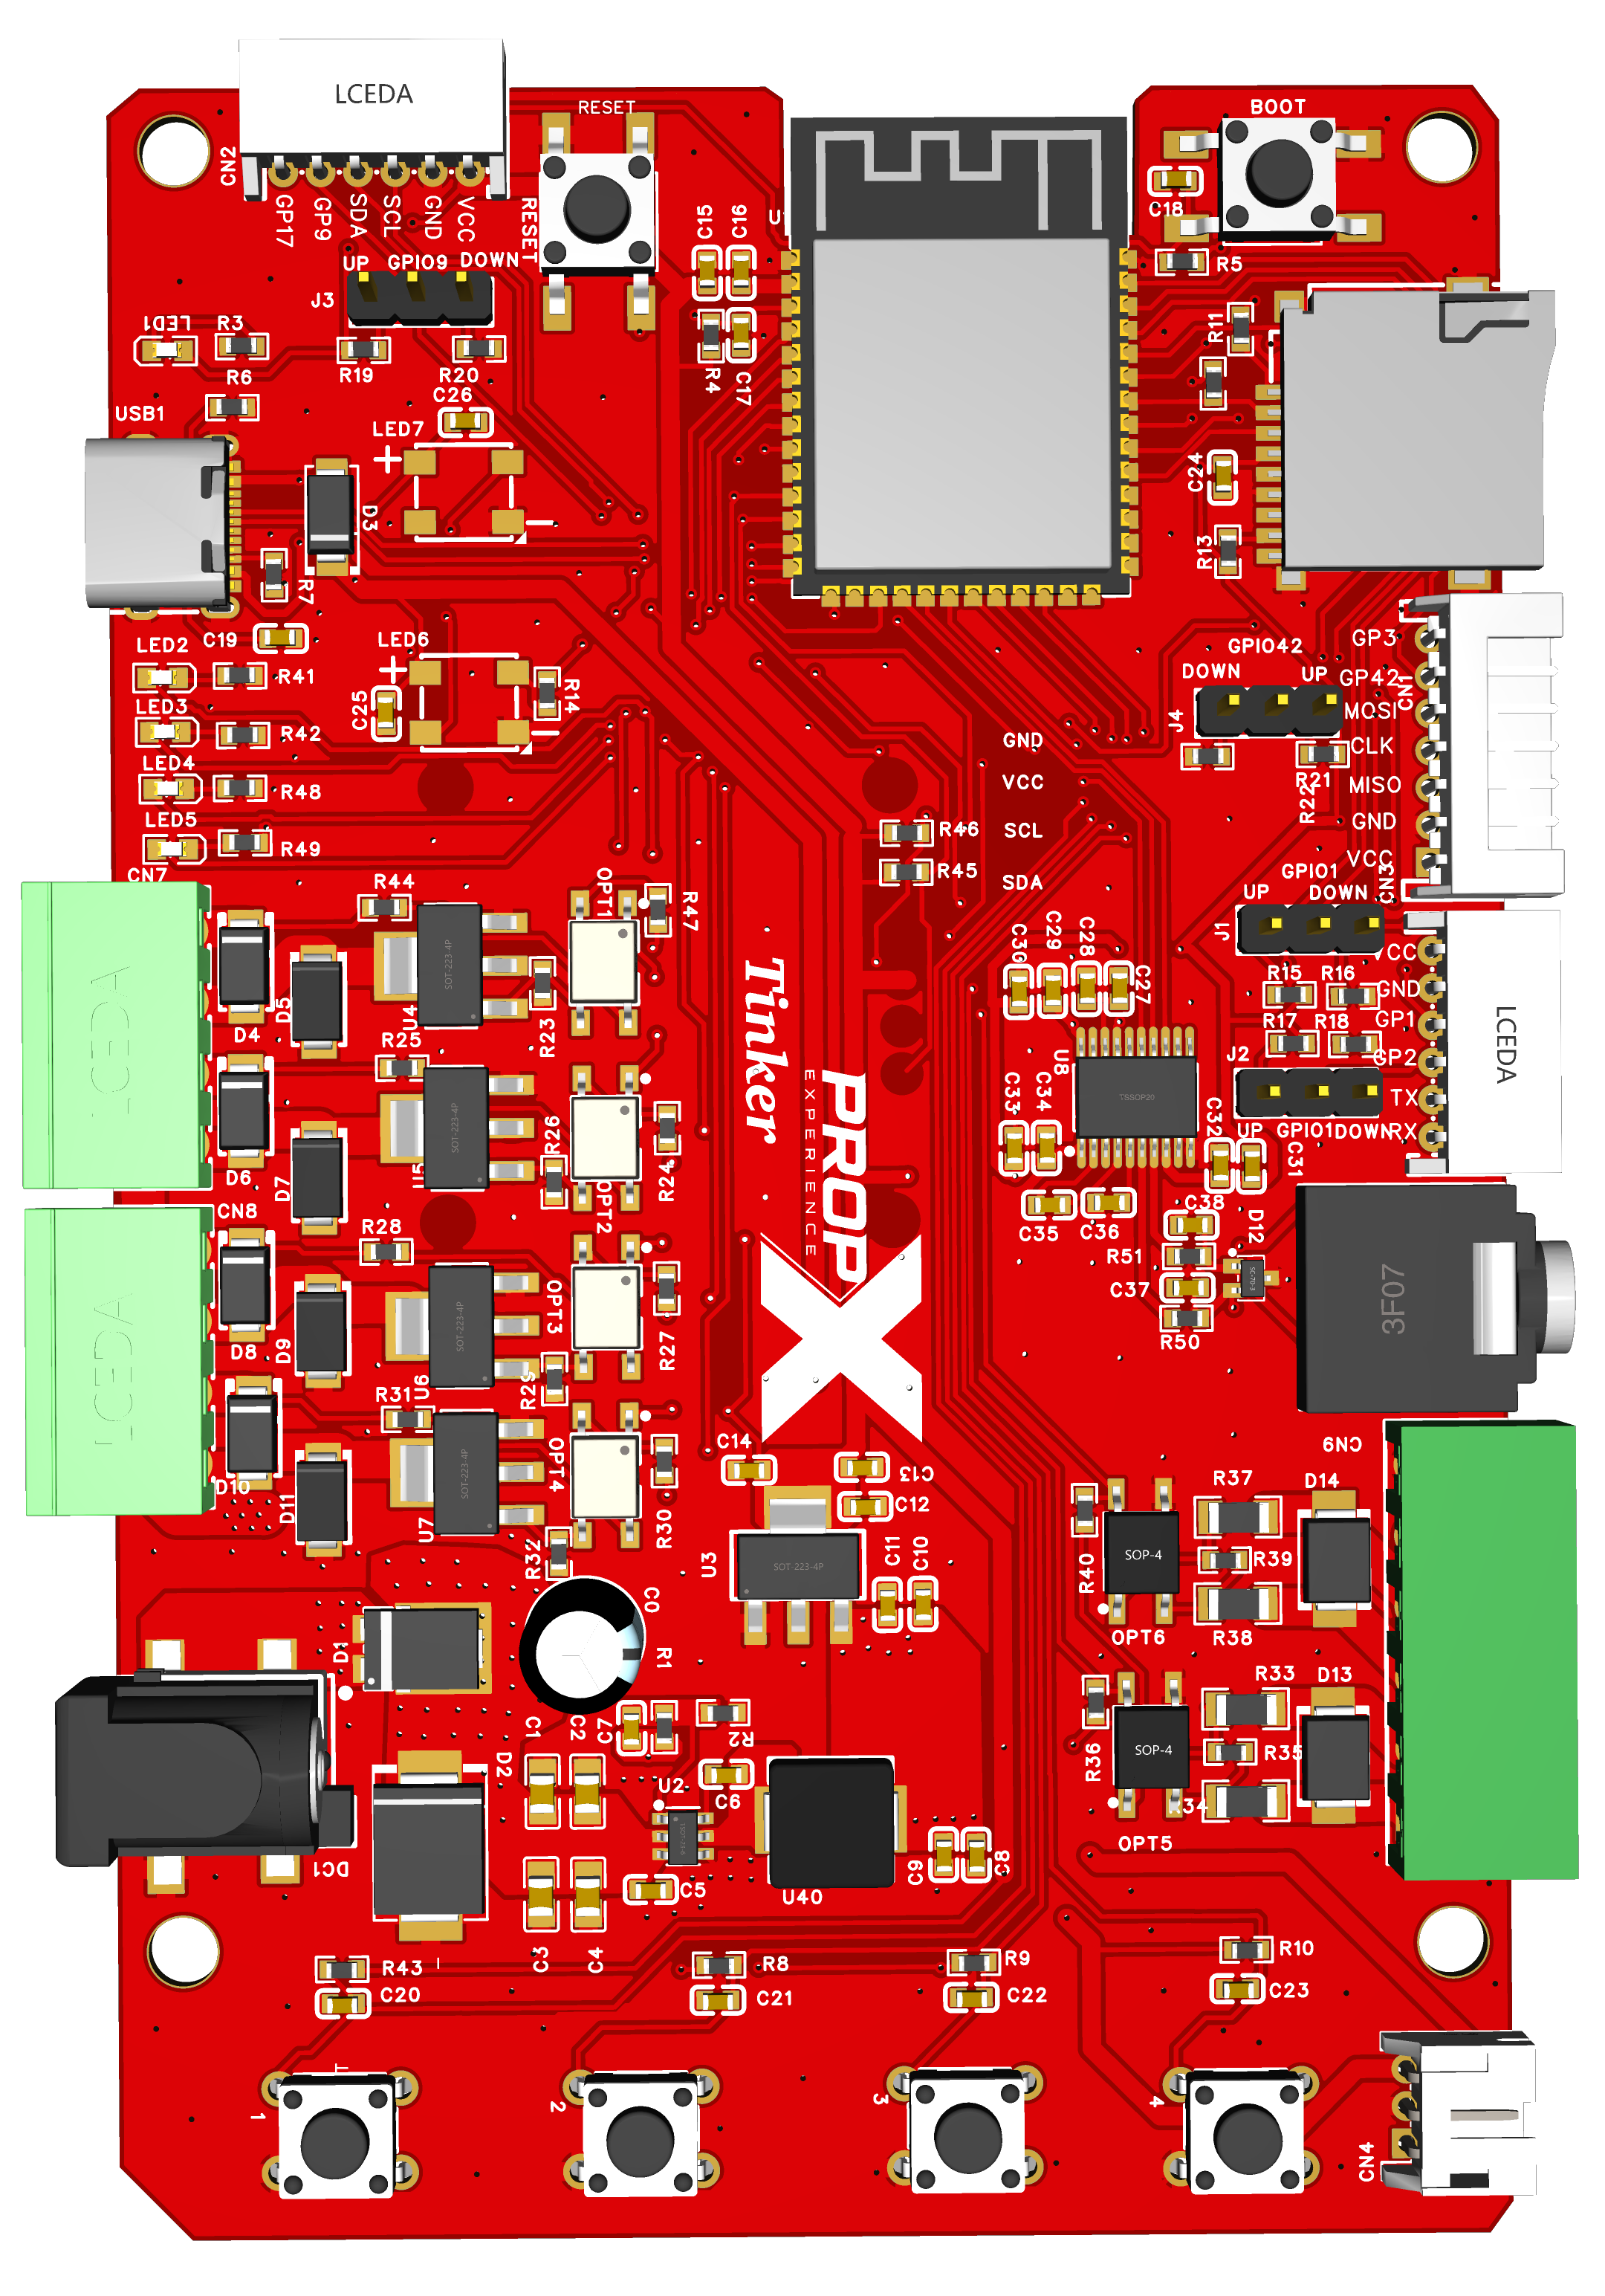
Nine steps to a spinning motor — on the bench, before it touches your prop. Mechanism, sensors, and shows come in the setup guide.
Before you start, you’ll need
- Your PropX-Motor controller
- A 9–24 V DC power supply that matches your motor's rated voltage
- A brushed DC motor, NOT connected to any mechanism yet
- A small flat screwdriver
- A computer with Bluetooth and the PropX Control Center app
- Time: about 10 minutes
⚠️ Warning: Never use a power supply above 24 volts.
⚠️ Warning: Keep power unplugged until step 3. Never wire with power on.
⚠️ Warning: First test = motor loose on the bench. A motor bolted to a lever can strike violently on first spin.
The nine steps
Install the PropX Control Center app.
You'll see: the app's main window.
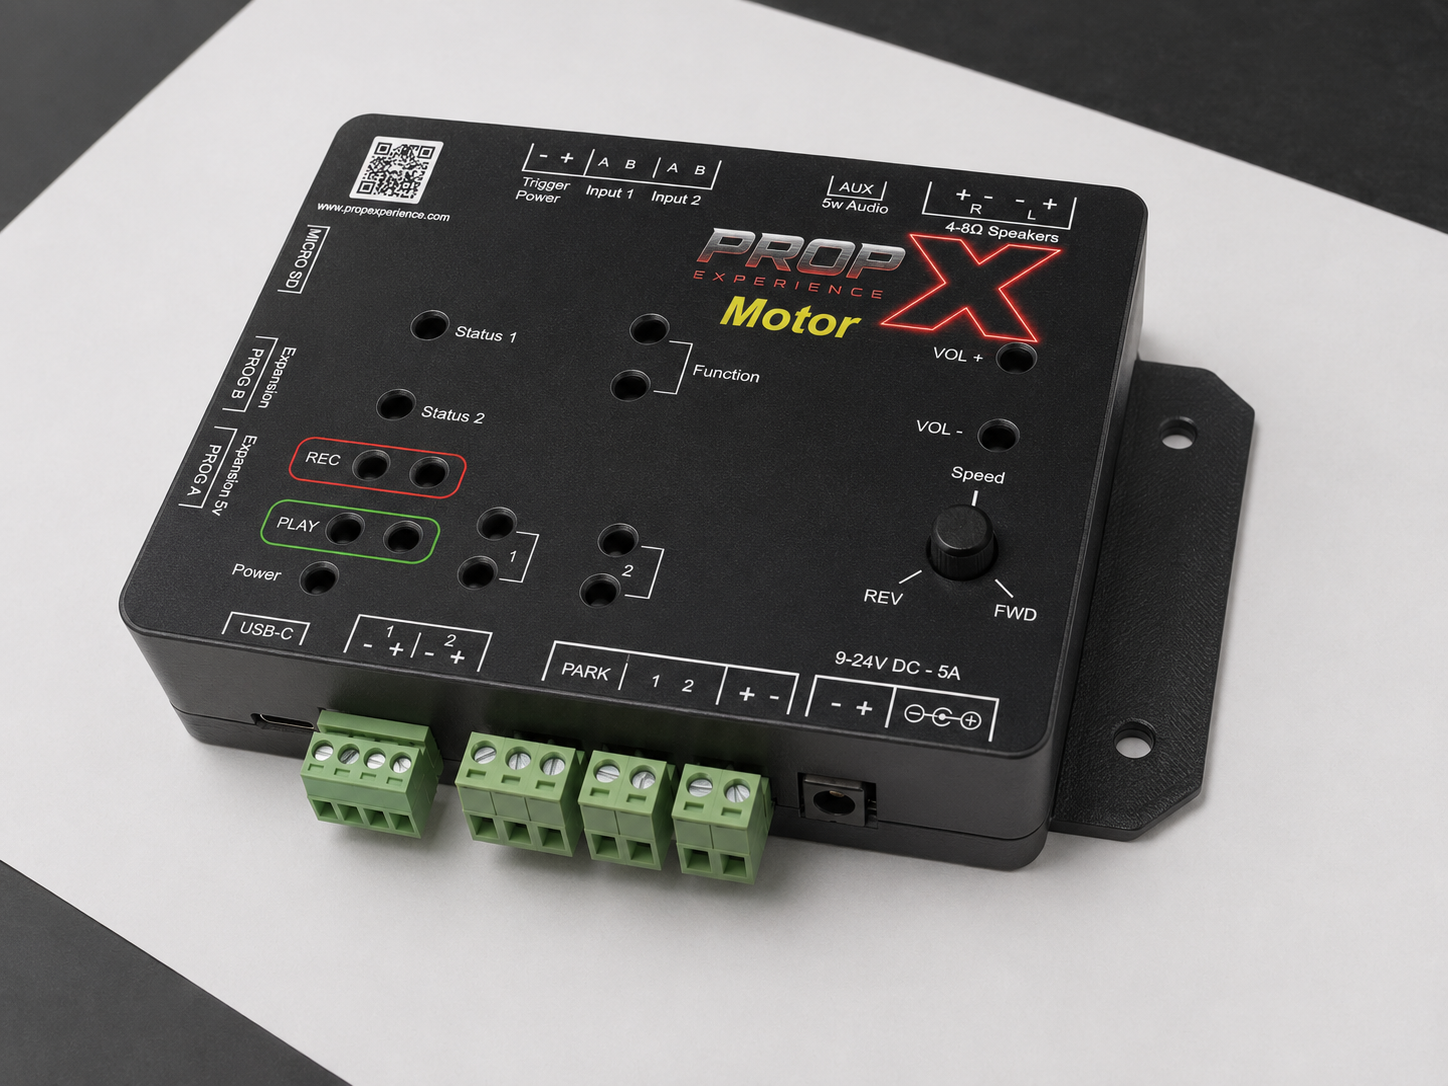
Connect the motor's two wires to motor terminals 1 and 2
(beside PARK, bottom edge). Either way around — the order only sets which way is "forward".
Motor wires in motor terminals 1 and 2 IMG-MOT-QS-01 — photo coming soonYou'll see: both wires held firmly.
Plug your supply into the power jack
(center-positive; or the − + power terminal).
Power supply plugged into the power jack IMG-MOT-QS-02 — photo coming soonYou'll see: lights flash red → green → blue.
Wait for Status 1 to turn solid blue.
You'll see: ready.
Put the Motor in pairing mode: hold the Record and Output 1 buttons together for about 5 seconds, then release.
You'll see: the status light flashes purple — ready to pair.
In the app, click Scan.
You'll see: PropX-Motor- plus your serial number.
Click Add.
You'll see: it connects — no PIN needed.
In the app, enable the motor and set about 20% speed.
You'll see: the motor turns slowly. (Nothing? Check the app shows the motor enabled and no fault.)
Set speed to 0 and disable the motor.
You'll see: it stops. Done — continue to the setup guide for the mechanism, home switch, and Speed knob.