
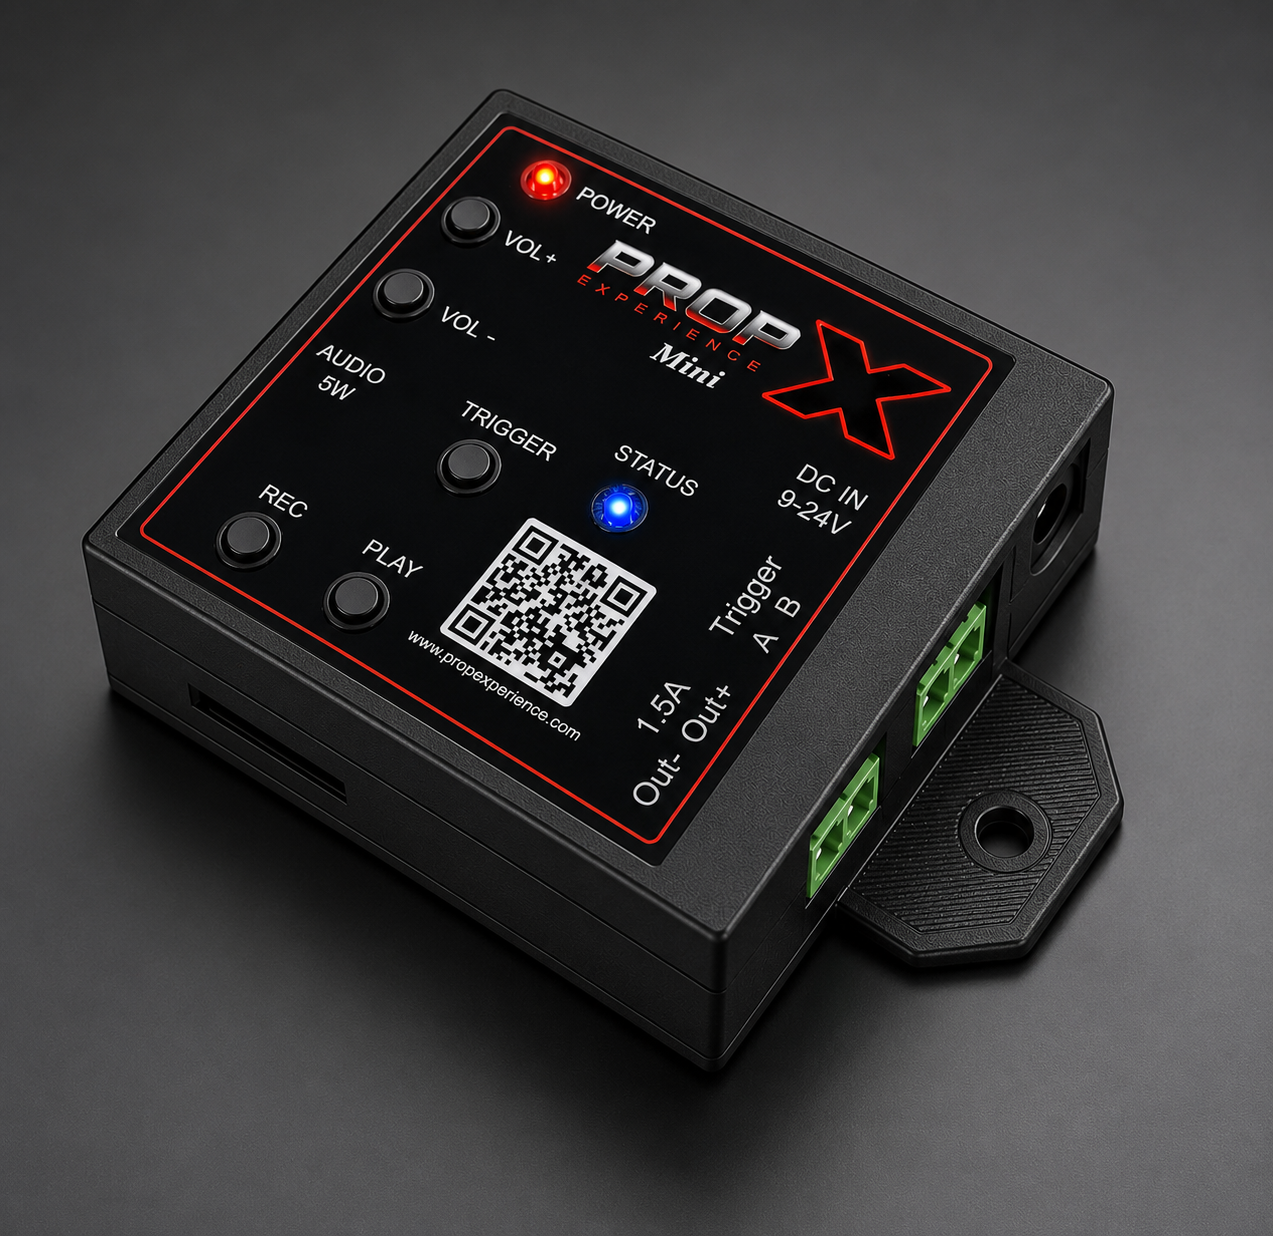
There are two ways to run your Mini: program it right on the box with the REC, TRIGGER, and PLAY buttons — that's this guide — or build shows in the PropX Control Center app, which is being released soon (see the end of this page).
Before you start, you’ll need
- Your PropX-Mini controller
- A 9–24 V DC power supply for the DC IN jack — required to fire the output. (The USB-C port powers audio only; it will not run a prop.)
- A prop or light drawing under 1.5 amps
- The two plug-in connectors below, if they didn't come with your unit
- A small flat screwdriver
- For sound (optional): an SD card and a small speaker or headphones
- Time: about 10 minutes
⚠️ Warning: Never use a power supply above 24 volts.
⚠️ Warning: Keep power unplugged until step 3. Never wire with power on.
The two connectors you'll need
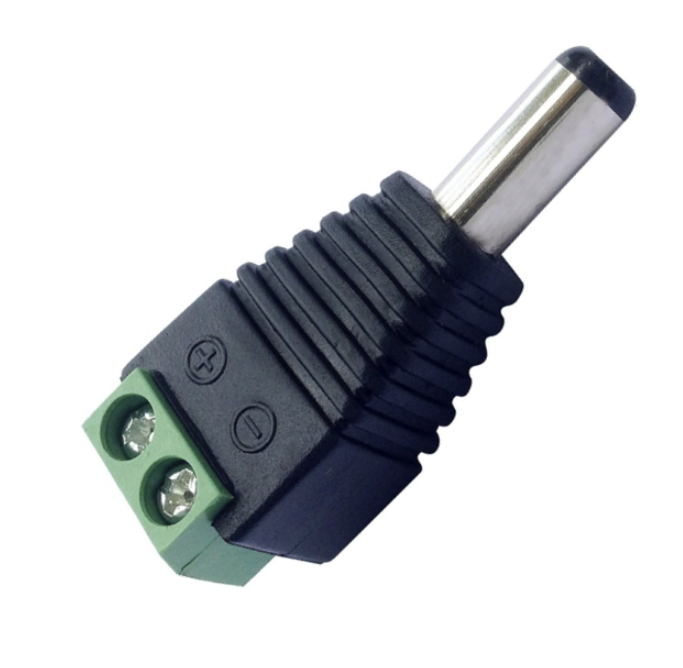
Before you wire anything, check that you have both plug-in connectors. They are what your prop and power supply screw into. If they didn't come with your unit, you can order them here.
Plug-in screw terminals — the green two-pin blocks for Out1 and Trigger.
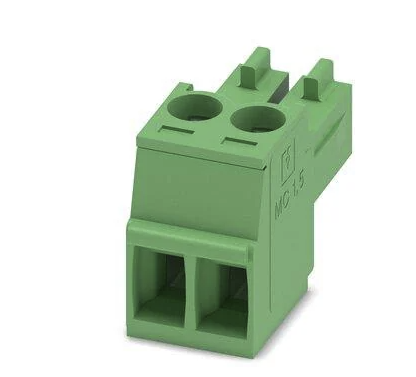
Order the screw terminals on Amazon
DC barrel connector — screws onto your 9–24 V supply's bare + / − wires and plugs into the DC IN jack.
Program it standalone — the eight steps
Connect your prop to the Out1 terminals — printed Out− and Out+, the left block on the connector edge.
(The Mini switches the − side: your prop's + goes to your supply's +, and the output completes the − side when it turns on.)
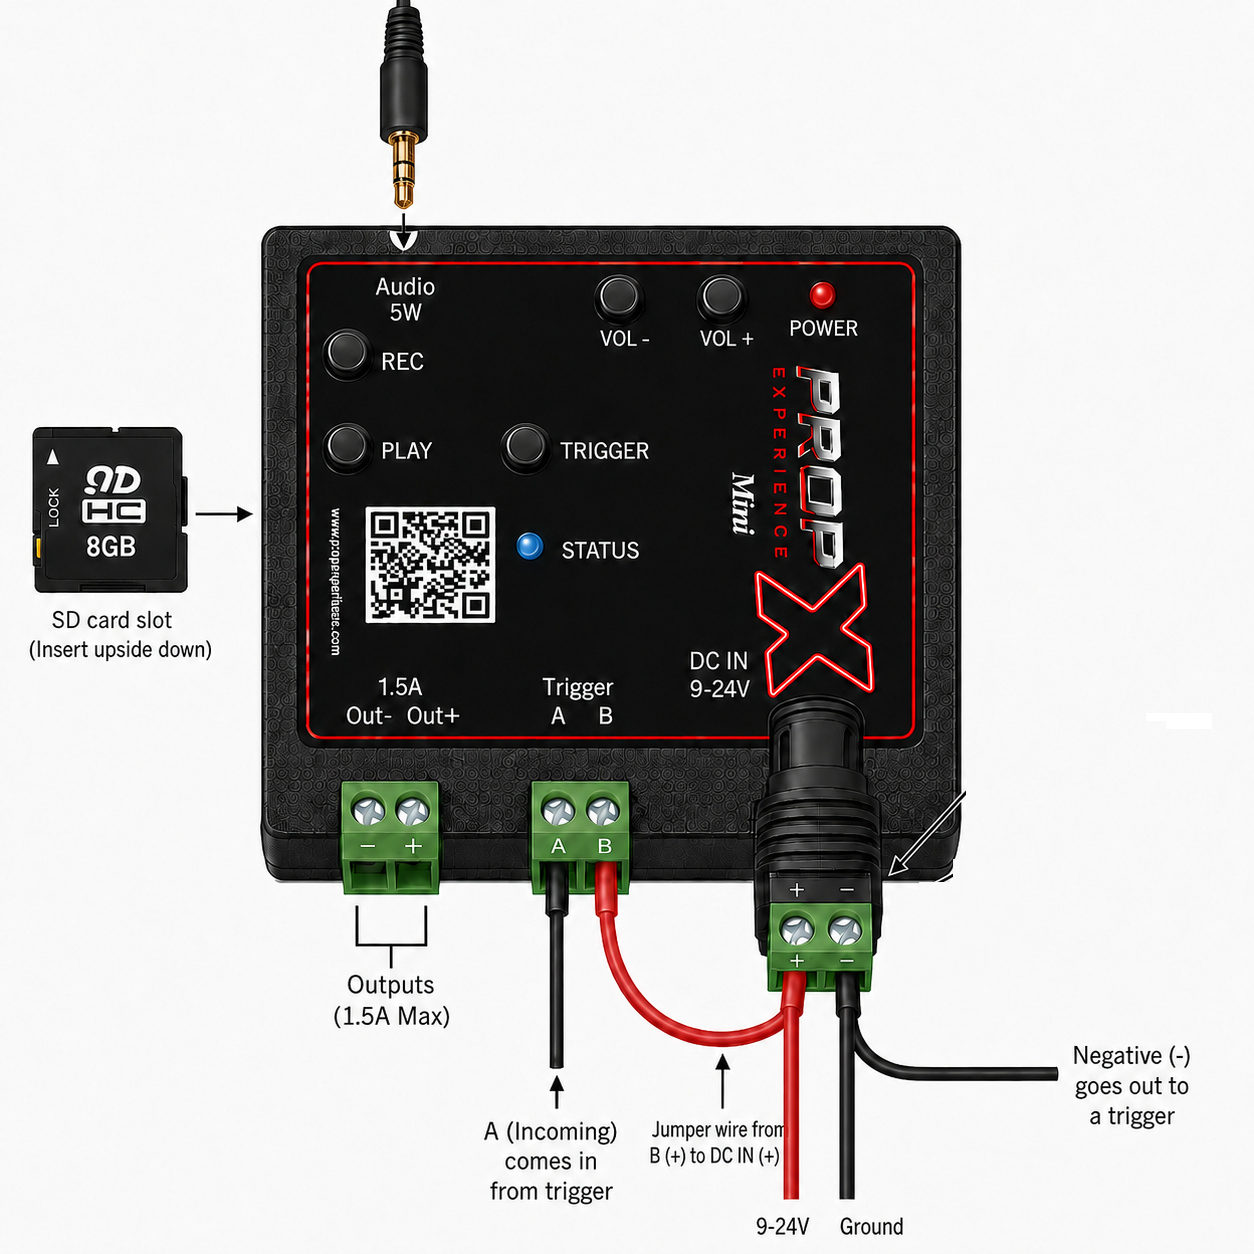
You'll see: both wires held firmly.
For sound: copy an MP3 named
trigger1.mp3onto your SD card, slide the card into the side slot — it goes in upside down — and plug a speaker into the 3.5 mm jack on the top edge.(No sound needed? Skip this step. For background sound between fires, also add a file named
ambient_default.mp3— the Mini loops it while idle. More on sound in the FAQ.)You'll see: the card seated in the slot.
Connect a 9–24 V supply to the DC IN jack.
(This powers the output; USB-C on the right-hand side runs the audio only and won't fire a prop.)
You'll see: the POWER light comes on.
Wait for the STATUS light to turn solid blue.
You'll see: ready. (Light mapping being finalized — #102.)
Hold the REC button for about 2 seconds.
You'll hear: your sound starts playing — recording has begun, and the STATUS light flashes orange.
Press and hold the TRIGGER button in time with the sound — your prop fires while you hold it.
Every press is captured, so this is you choreographing your show.
You'll see: your prop firing as you press.
Press REC again to stop.
You'll see: the recording stops and your show is saved on the Mini.
Press PLAY.
You'll see: your show runs back exactly as you recorded it — prop and sound. A sensor or button wired to the Trigger terminals fires it too. Done — the device tour maps every connector, button, and the mounting flange.
The PropX app — coming soon
The PropX Control Center app — multi-step shows, sound management, trigger settings, WiFi and cloud remote control — is being released soon. Your Mini already supports it: once the app is out, you'll pair over Bluetooth and everything you recorded on the box comes with you.